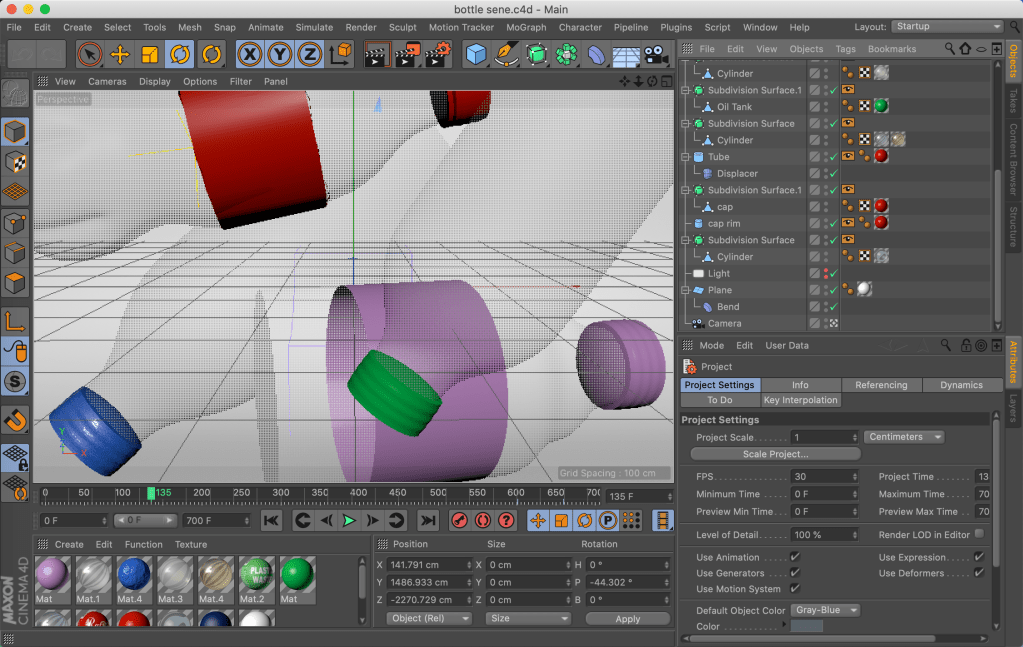
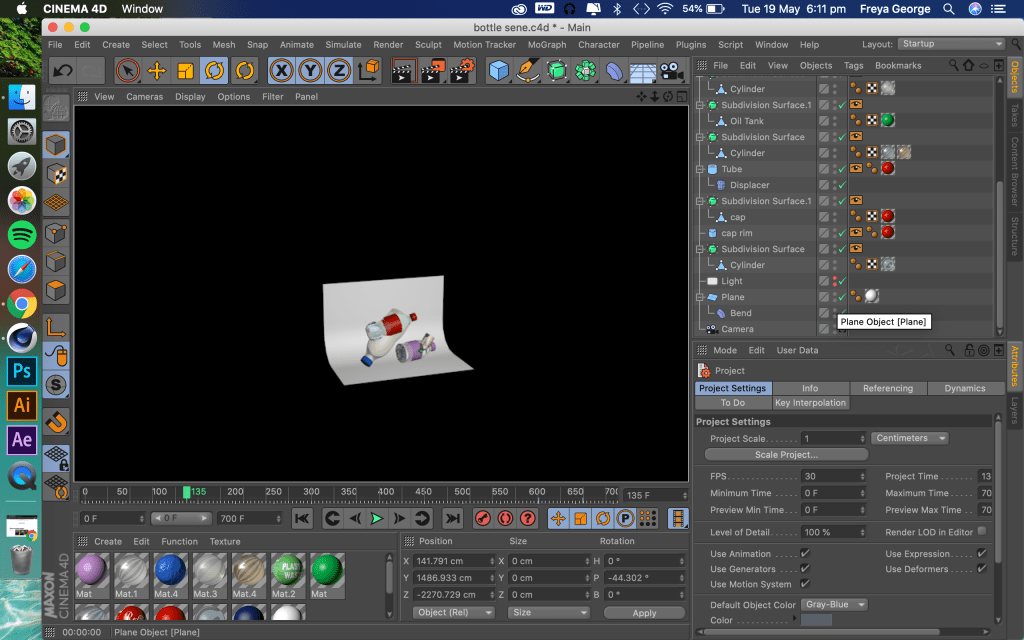
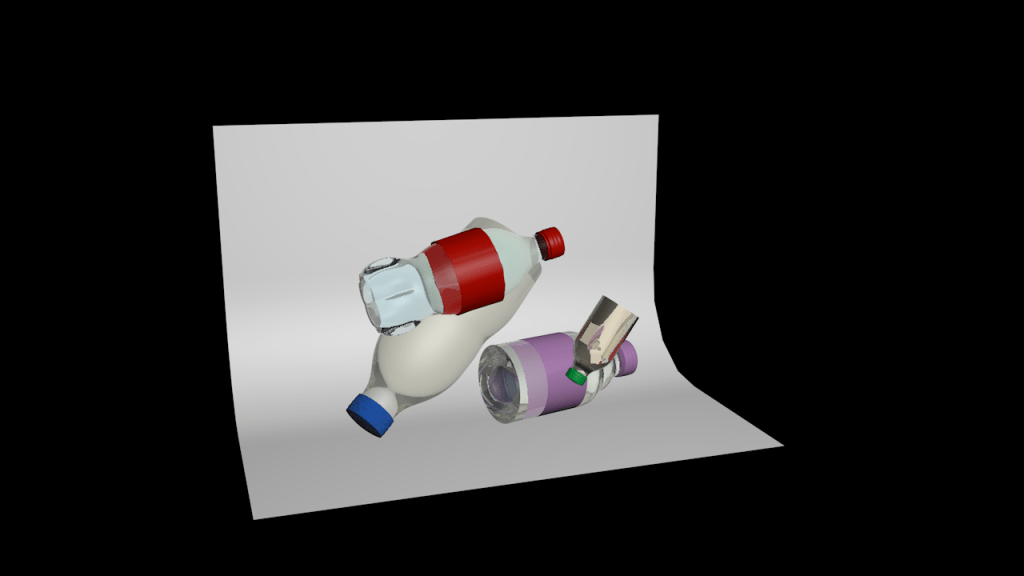
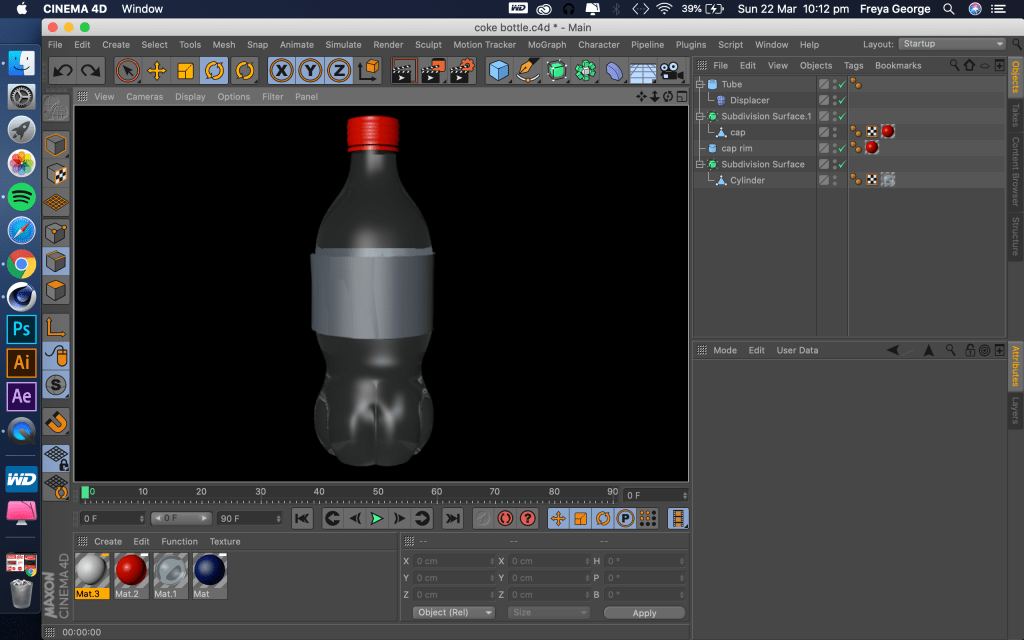
Making plastic bottles:
Making a jellyfish:
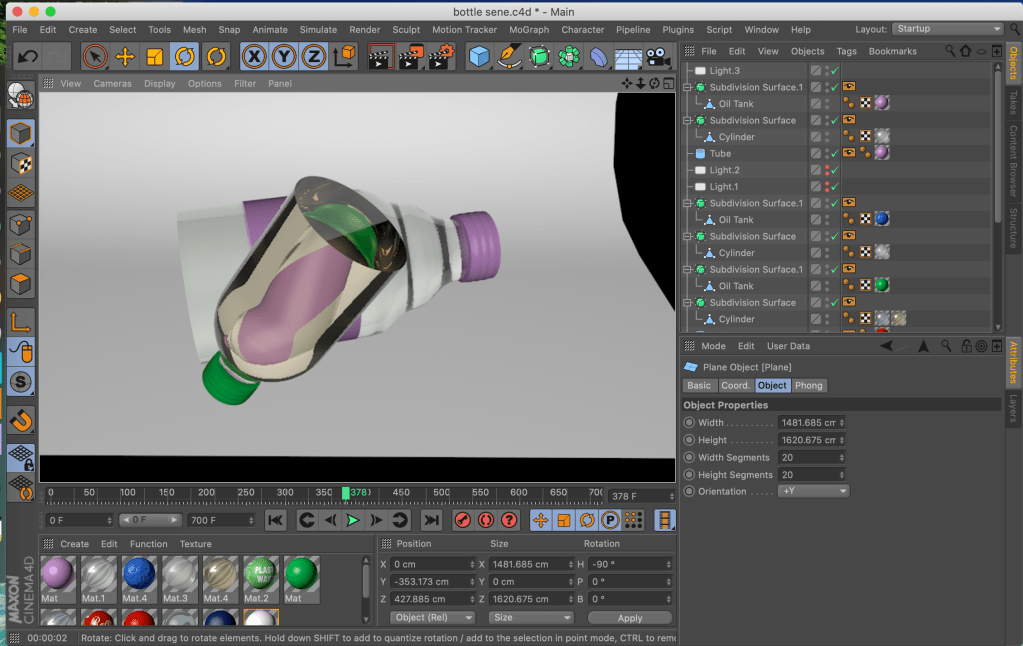
Making a ear cleaner:
Making plastic bottles:
Making a jellyfish:
Making a ear cleaner:

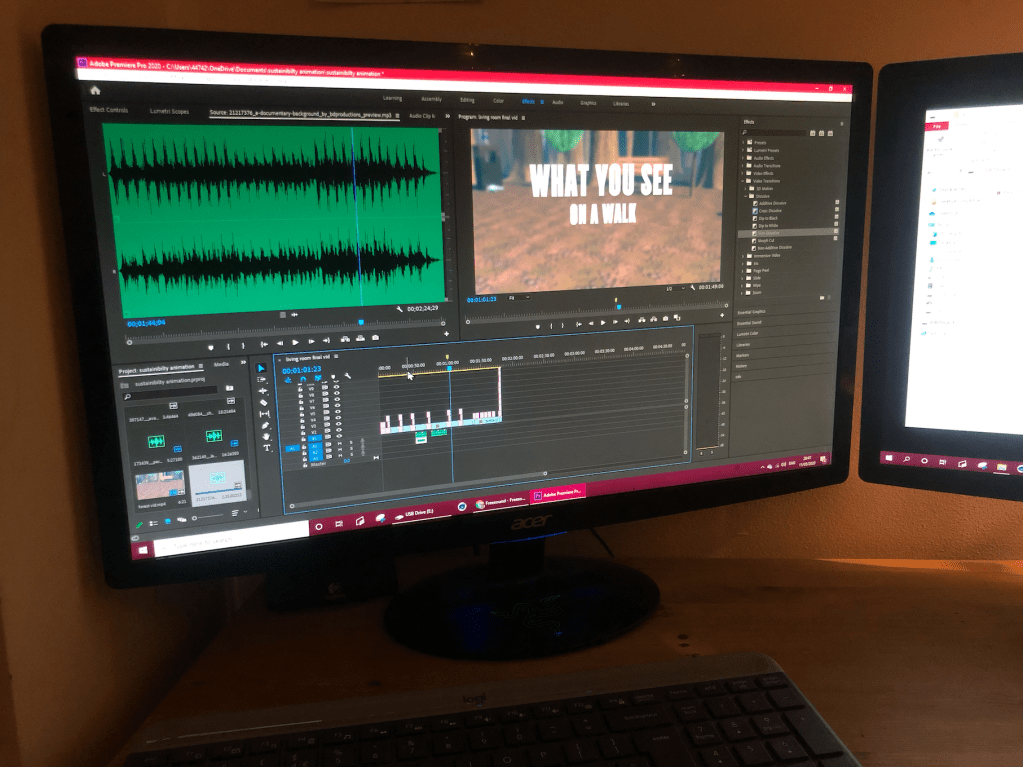
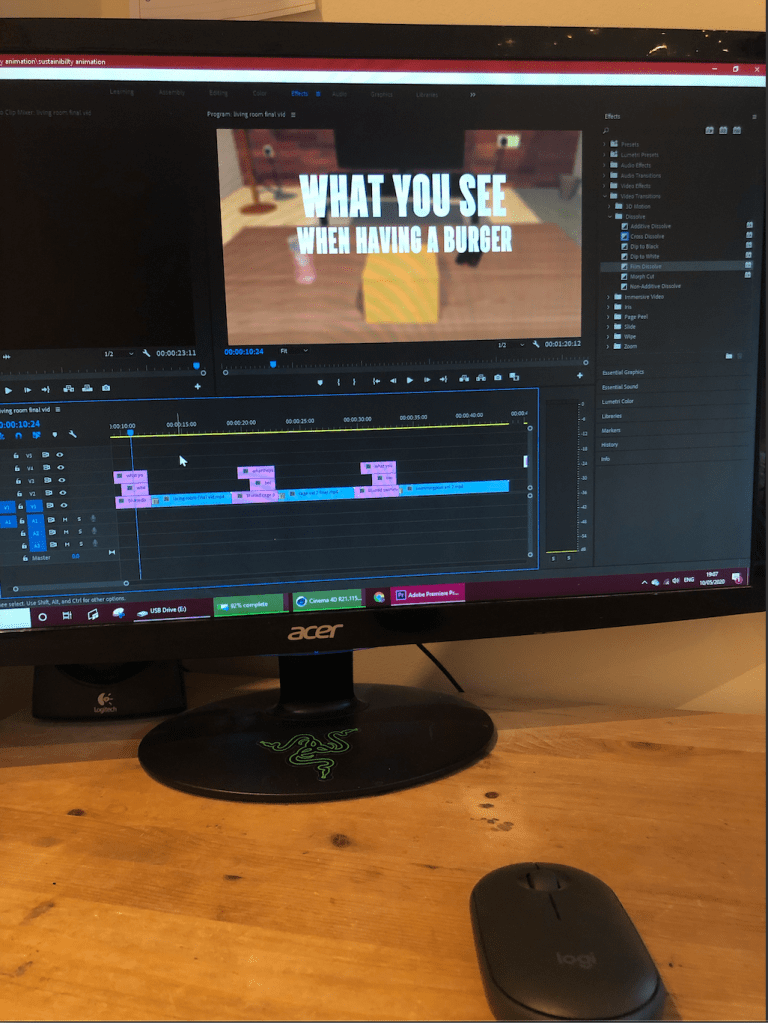
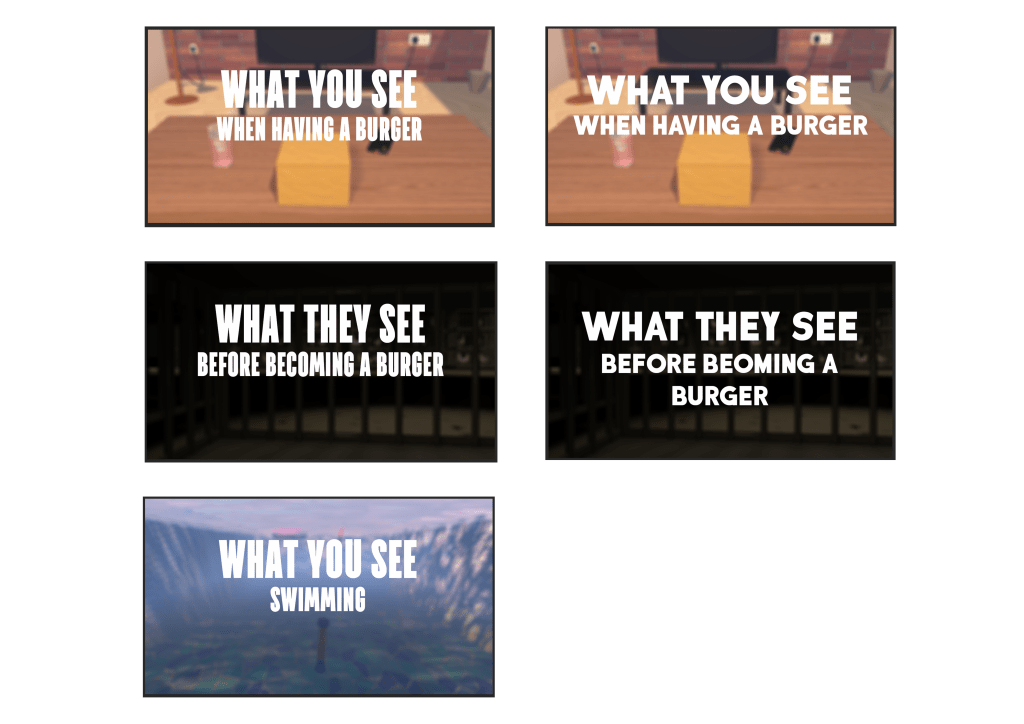
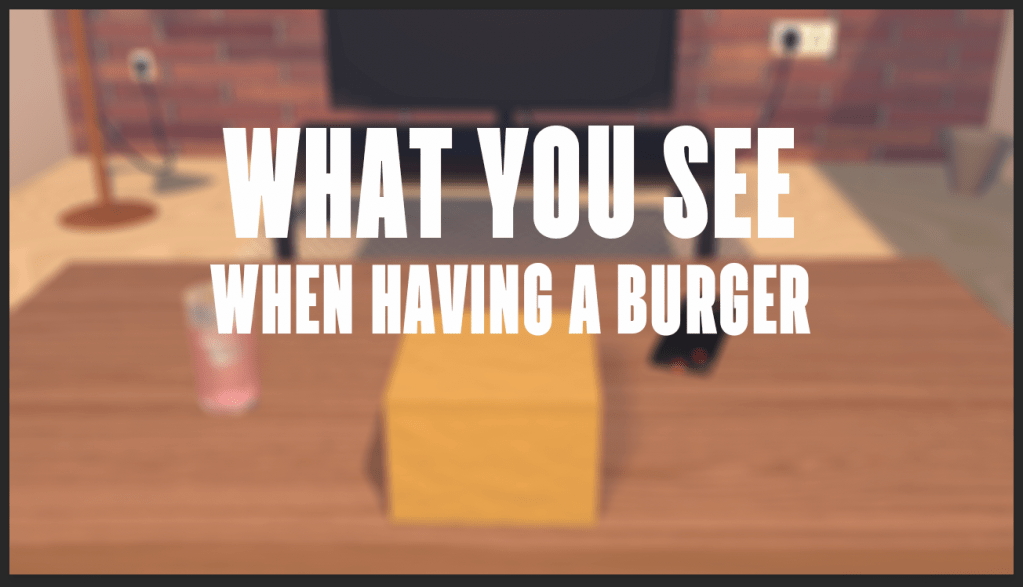
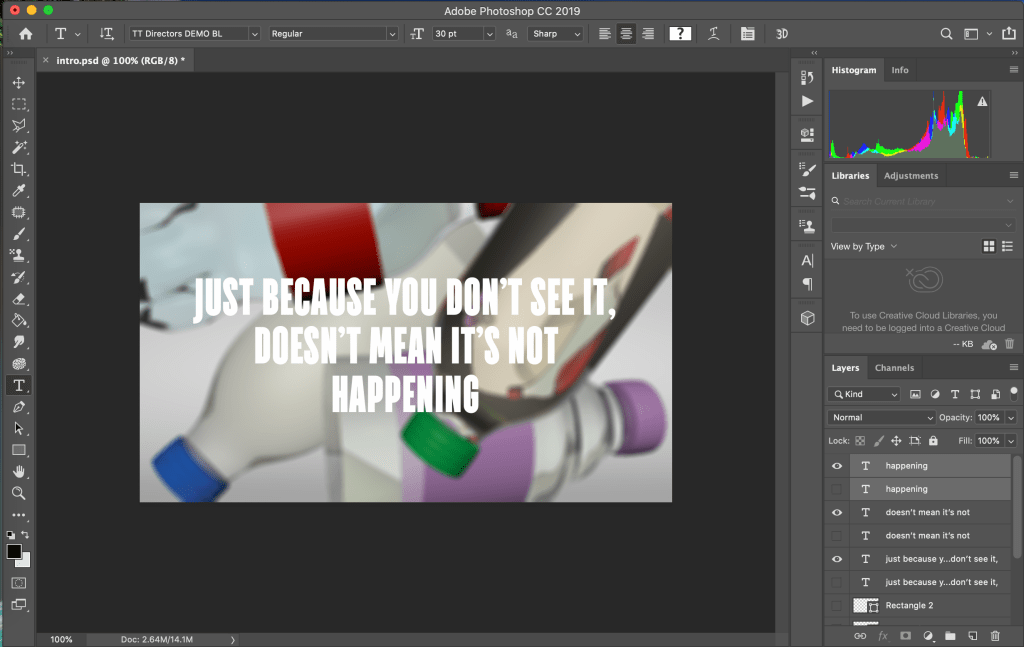
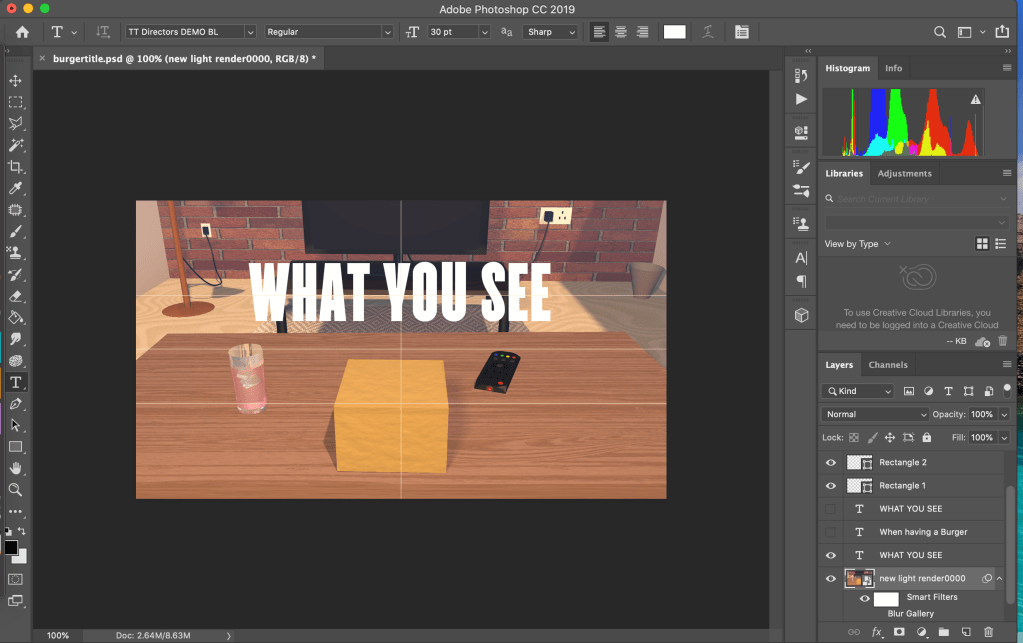
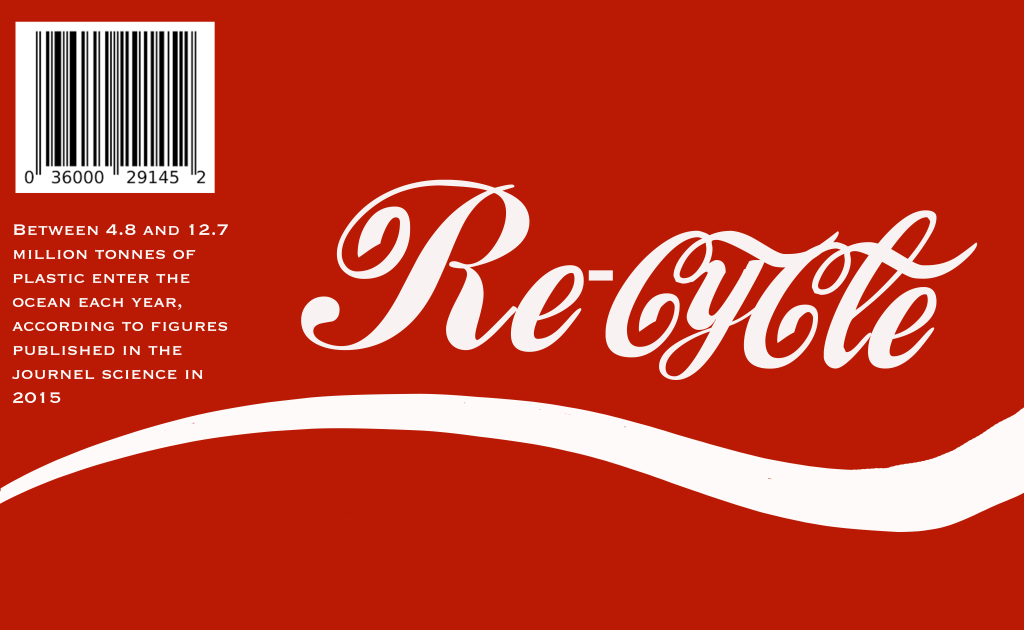
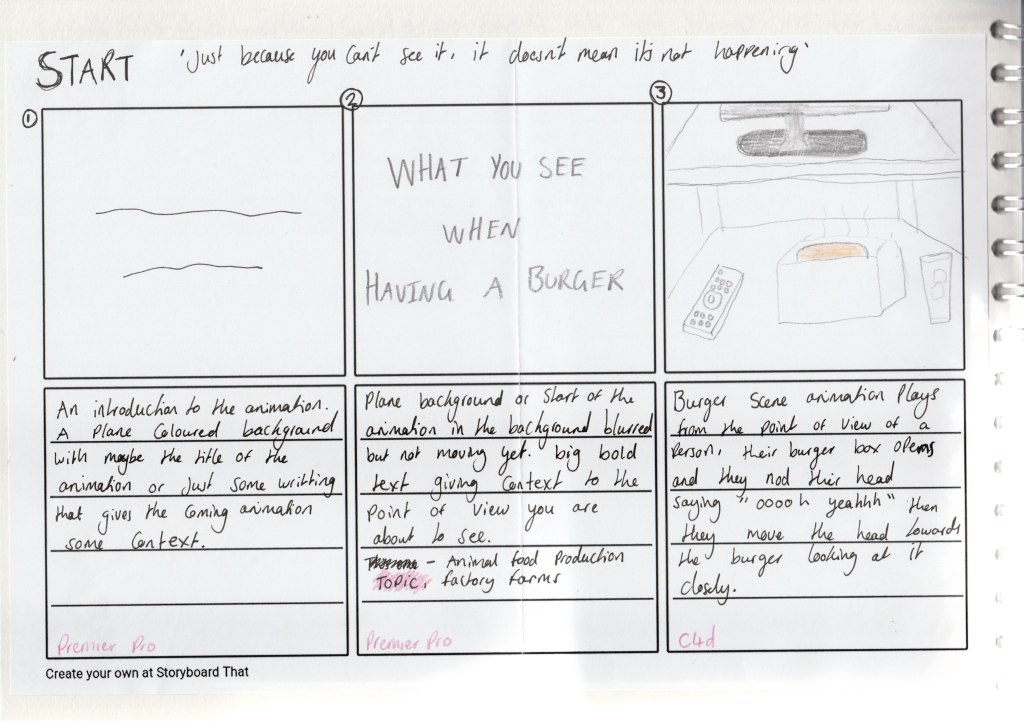
For the titles I used the first image of each scene and blurred it slightly so the text would stand out more. I played around with a few bold fonts to see which one I liked the best. I picked the font because it was bold and easy to read but the letters are also slim so they don’t take up the whole of the image in the background meaning when I faded the blurred image to start the animation playing it looked better being able to see some of the background first.
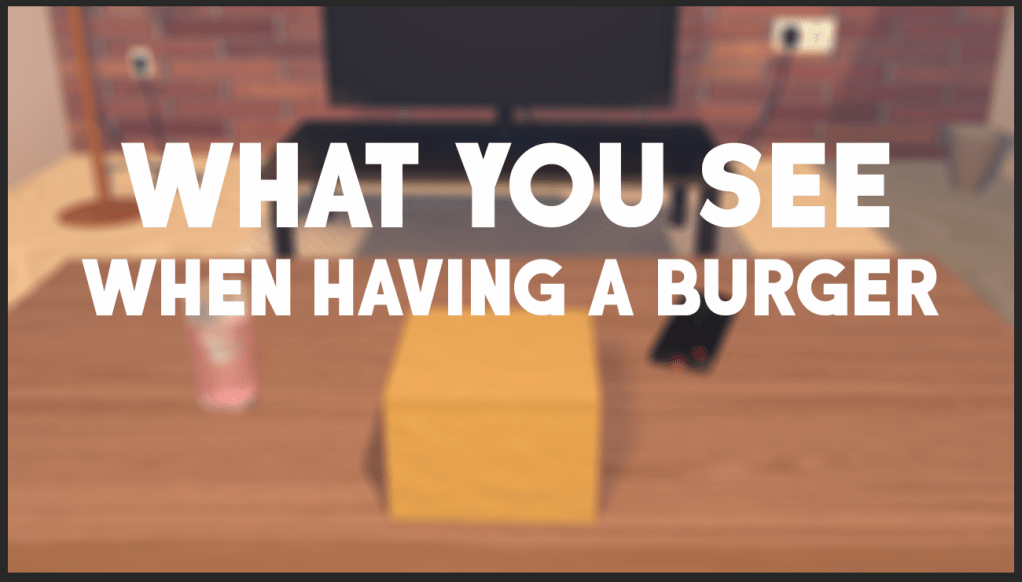
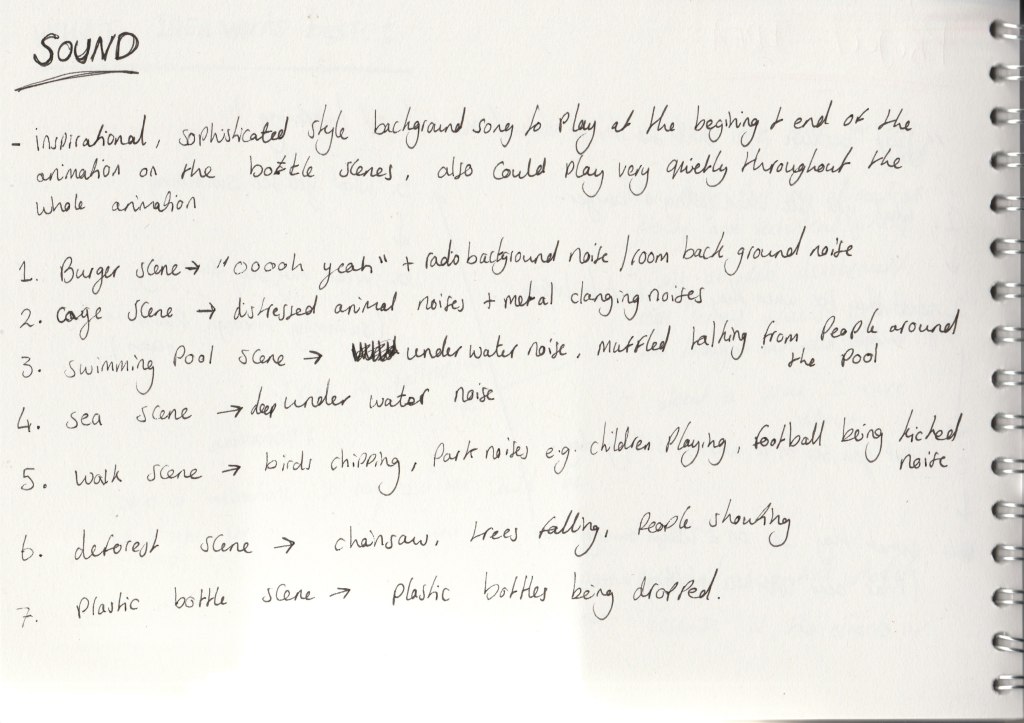
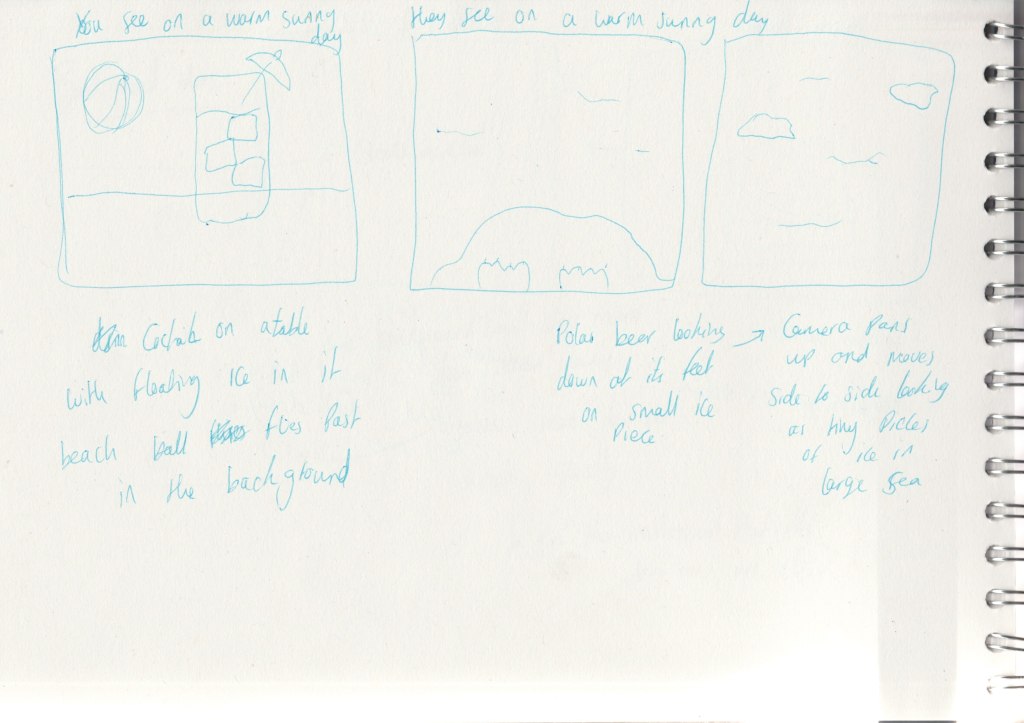
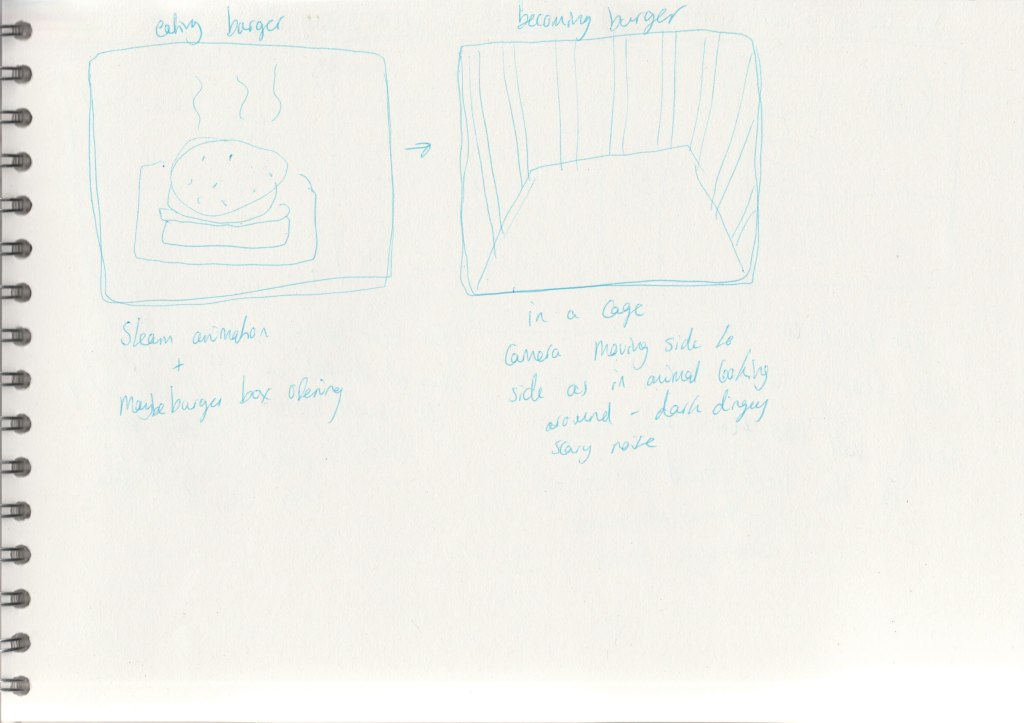
When sketching my animation out I was already thinking about what sound could go with each scene. For example for the burger scene I planned that with the head nod looking at the burger someone would say “ooooohhh yeah”.
I got feedback that adding sound to the animation would really add to the atmosphere of it and go well with the point of view aspect of it. Especially for the in a cage scene and the deforest scene adding sound to the visuals would really push the message of the effects of living unsustainably. Adding the animal noises to the cage scene made the scene make more sense when watching it and same with hearing a chainsaw in the deforest scene.
For the background music I chose a song that has an optimistic sound to it as I don’t want my animation to be a video that scares people and makes them feel hopeless about climate change. I want it to make people think about how they are living and inspire them to take the advice in the video and act towards living more sustainably.
I tried to make the audio match up well with the visuals for example when the words came on screen I made the audio appear at the same time, also when the the bottles disappeared I added a plastic bottle dropping sound at the same time.
I got my audio off the internet as when I tried to record my own my microphone wasn’t good enough to get clear audio.
Evaluation of the scene:
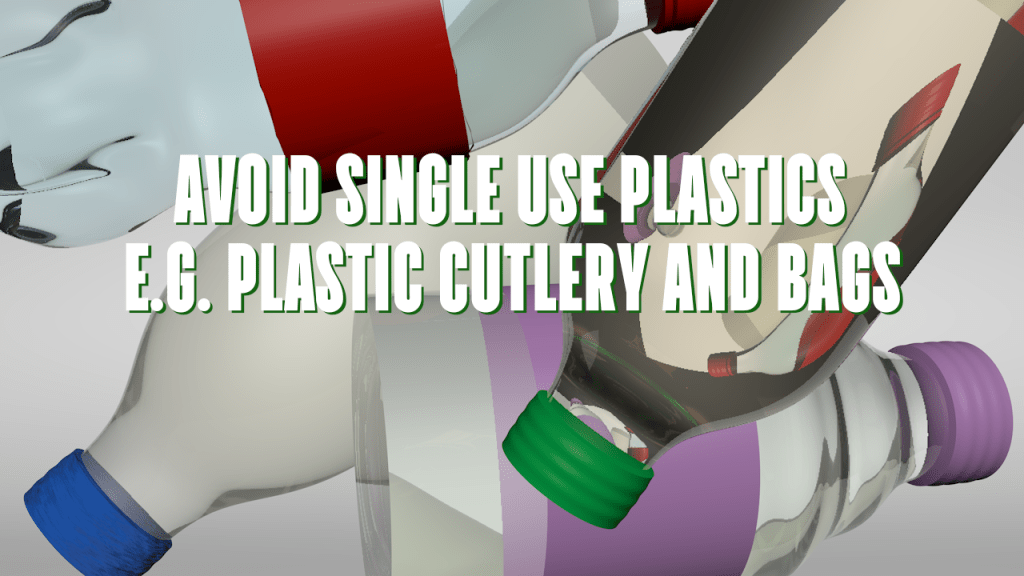
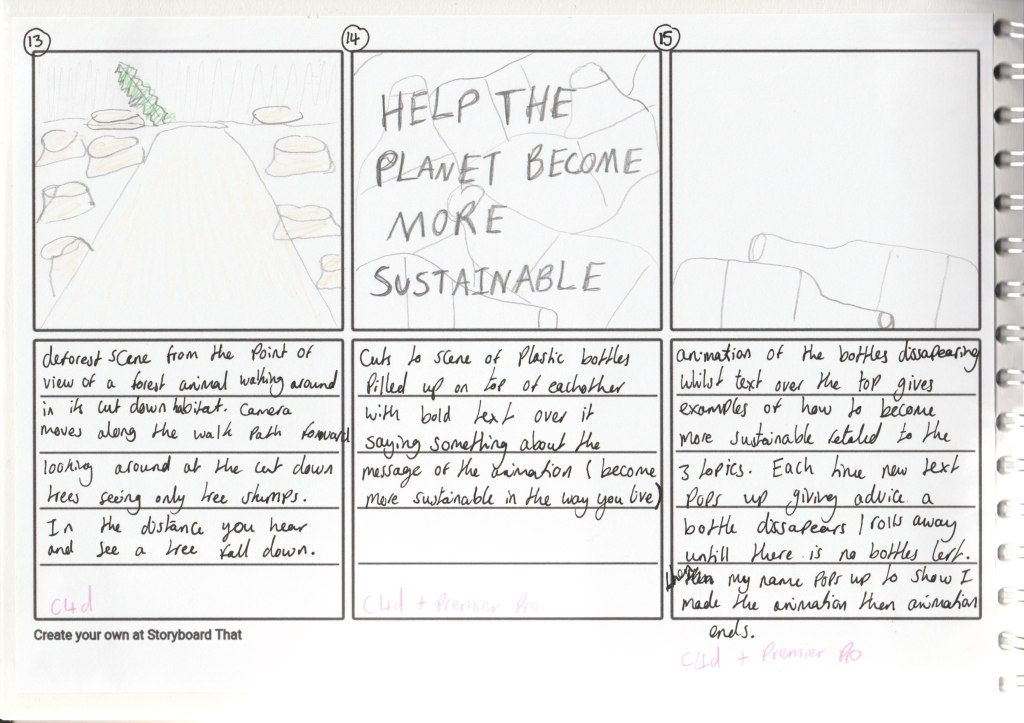
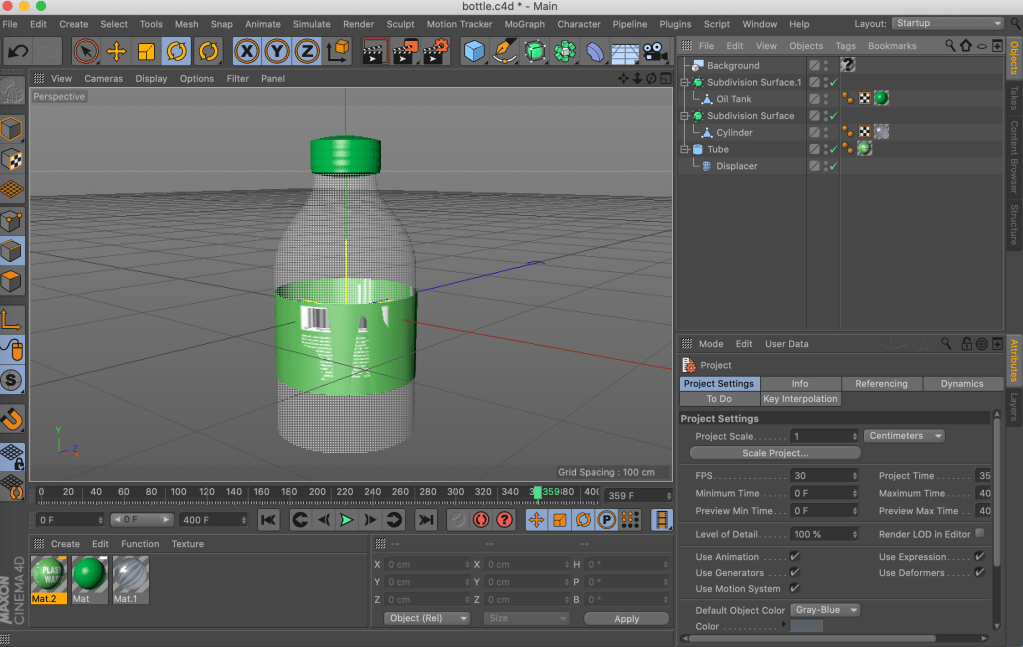
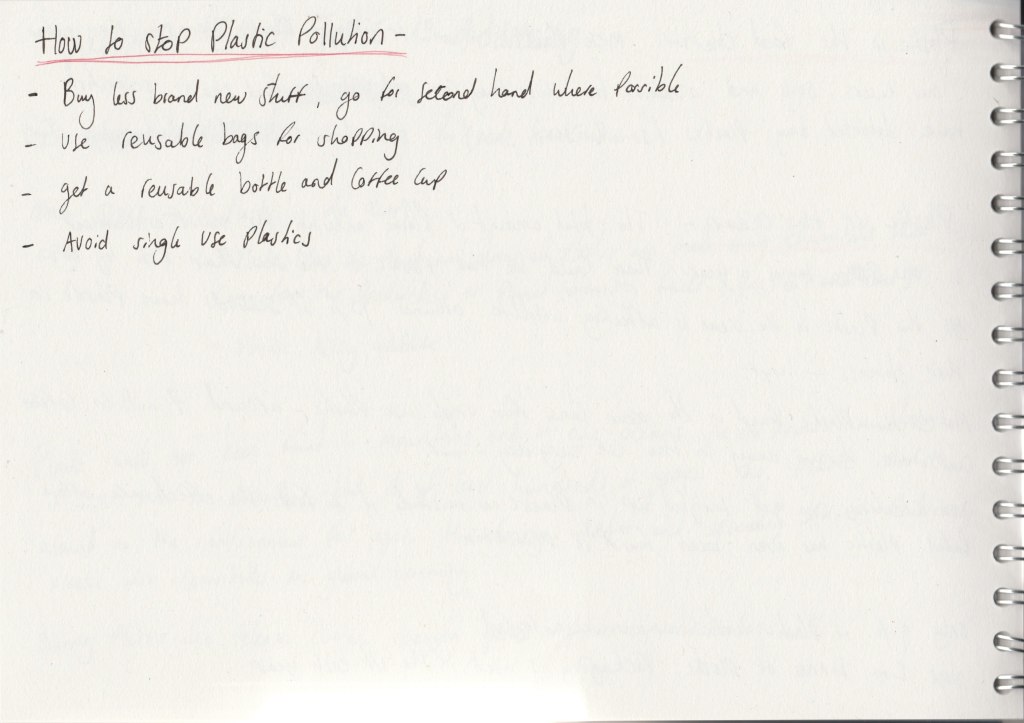
I made this scene for the beginning and the end of the animation. I made it so that for each piece of advice on how to live sustainably it would show, a bottle would disappear, to represent that how by just changing a few different things to your lifestyle you can really help the planet and contribute less to climate change. I ended the animation with this so that its actually a useful video to watch that gives you advice about that topic instead of just throwing facts at you and scaring you about a topic.
It then fades to black and shows my name and my instagram so that when people watch it they know I made it and can find my art account on social media.

Sketches and the scene in cinema 4D:
Evaluation of the scene:
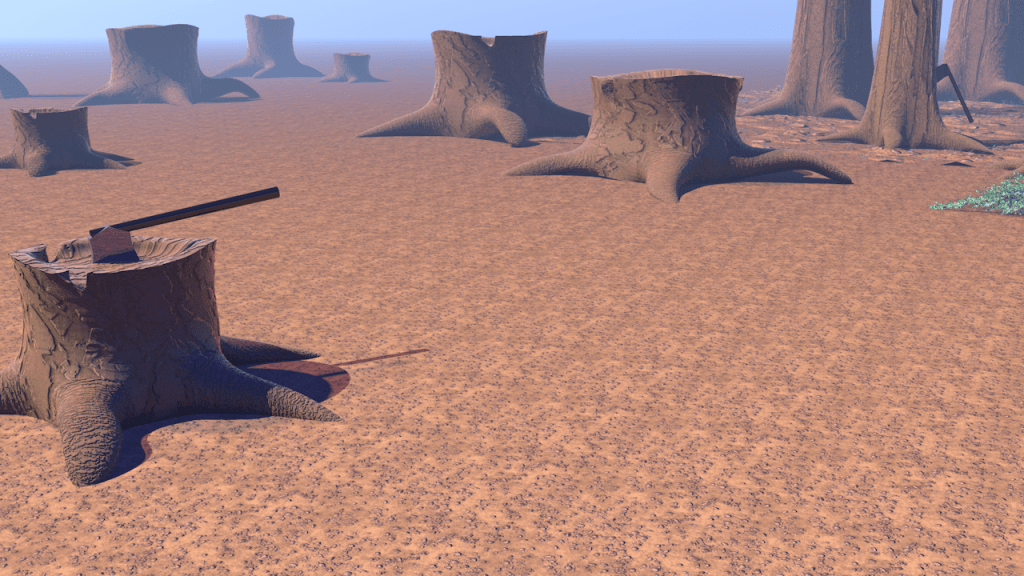
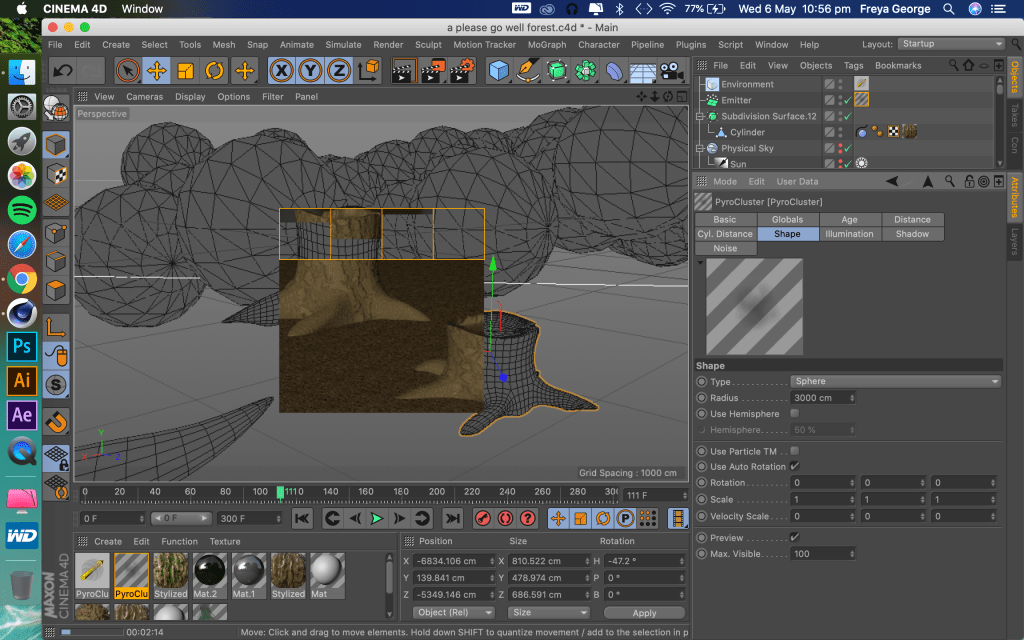
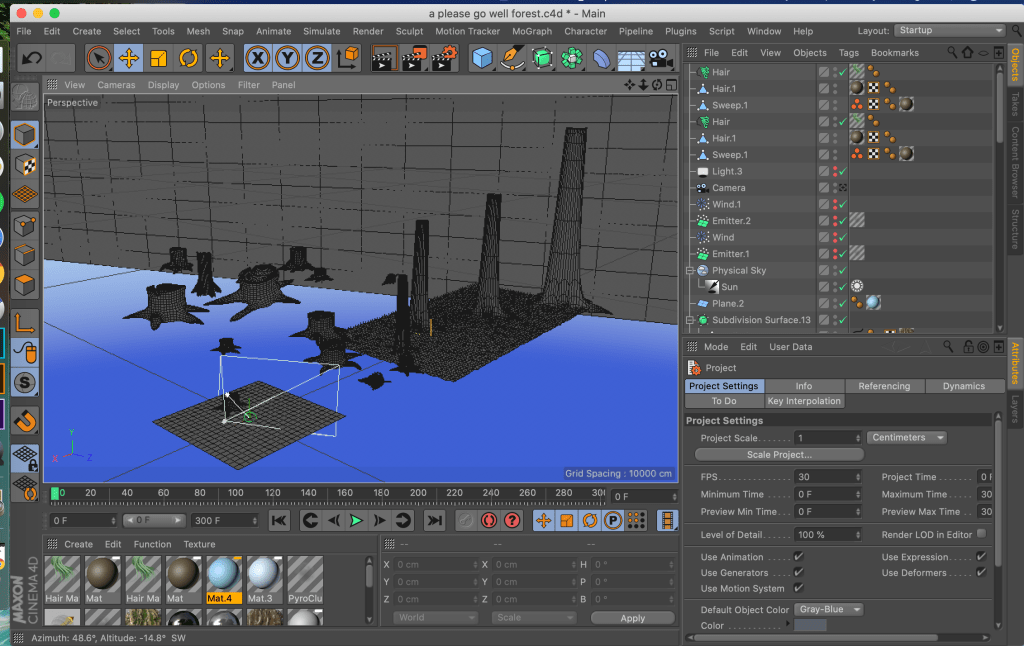
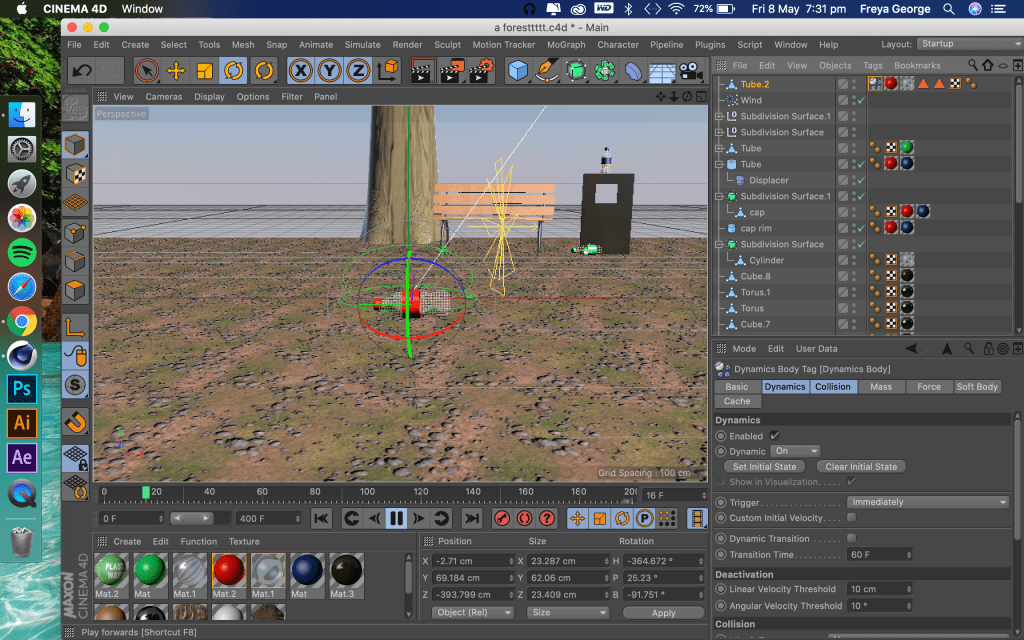
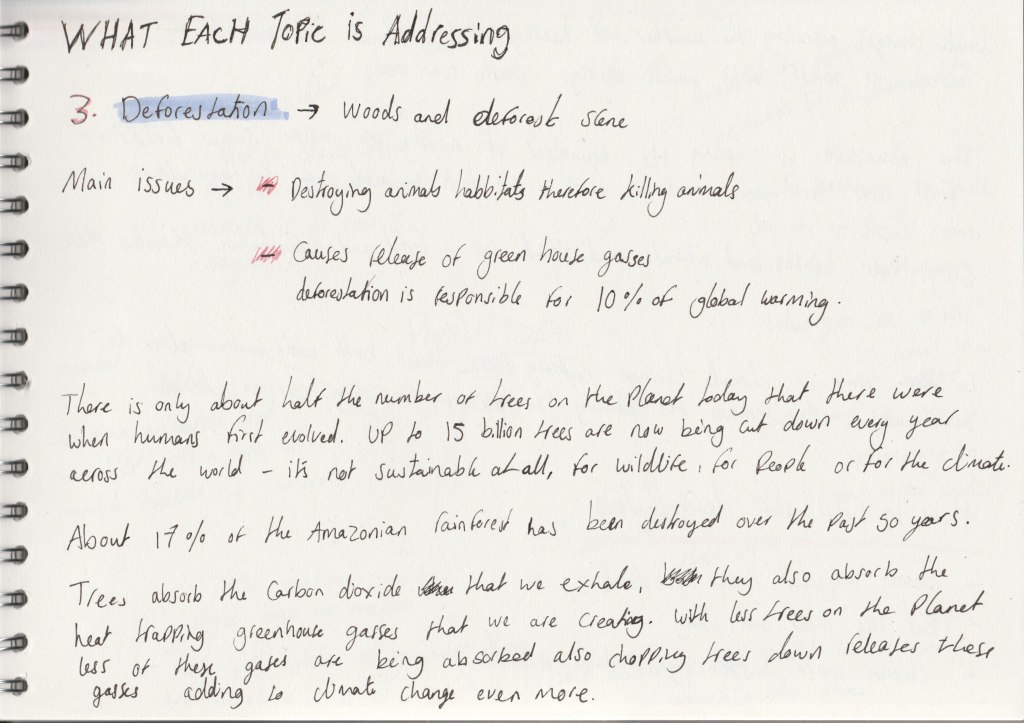
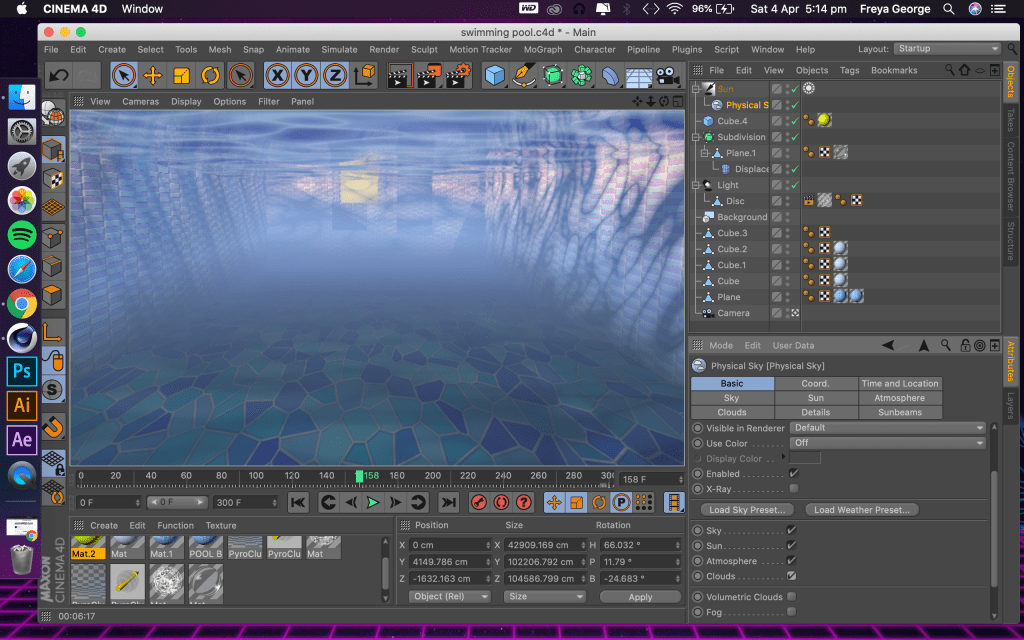
When making this scene I wanted to have smoke rising in the background to add some more movement to the scene and also one way of clearing forest land is done by chopping the trees down and burning what is left. However to render just one image using the physical sky light and smoke particles took almost up to an hour which would take way too much time to render the whole animation as there was 250 frames in the animation. It took a lot less time to render if I used the smoke without the physical sky lighting but then it gave the scene a very studio lighting look so it didn’t look like the scene was outside and made it look not very realistic.
I decided that the scene looking like it was more realistic and outside is more important for the animation as I want it to look actually like the point of view of a wild animal thats just had it’s habitat cut away. So I had to decide not to add in the smoke, I did add at foggy effect to the background of the scene though to still give a slight effect of smoke in the background.
First render:
I spent lots of time trying to be able to have good outside style lighting and smoke in the scene with a low render time but When I realised I couldn’t do that I focused more on the realistic outside lighting. With this scene it still took lots of time to render so I din’t have time to render it then change it and render it again. I need to manage my time better next time so I have time to do this as it’s very hard to see how well I animated the camera movement without rendering it.
Sketches and the scene in cinema 4D:

Idea behind the scene:


Evaluation of the scene:
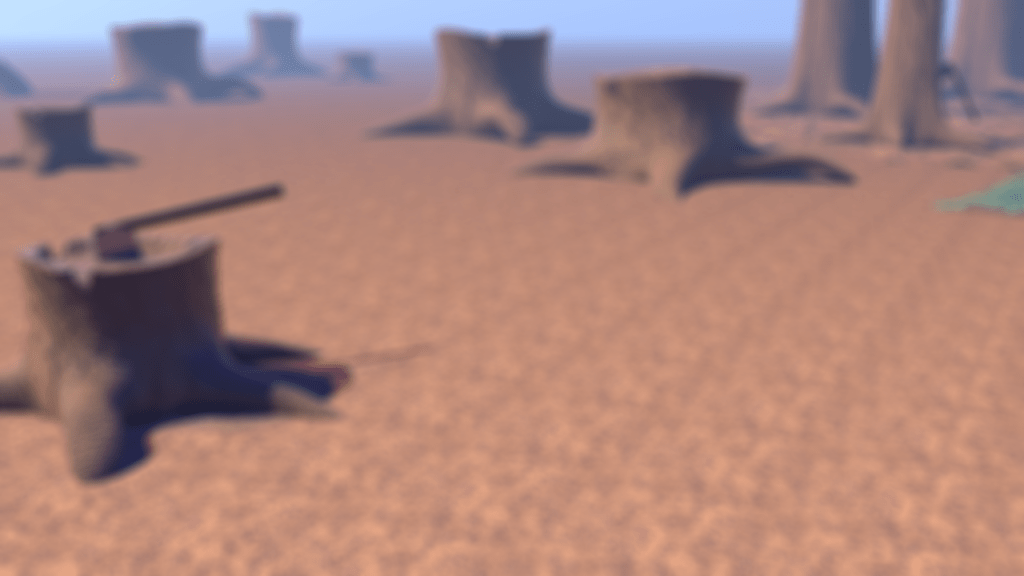
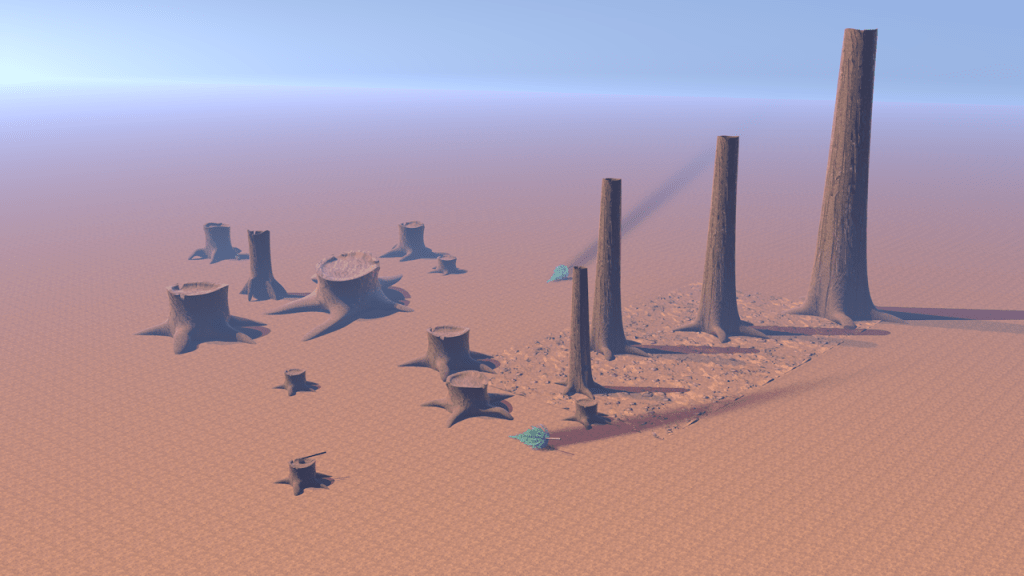
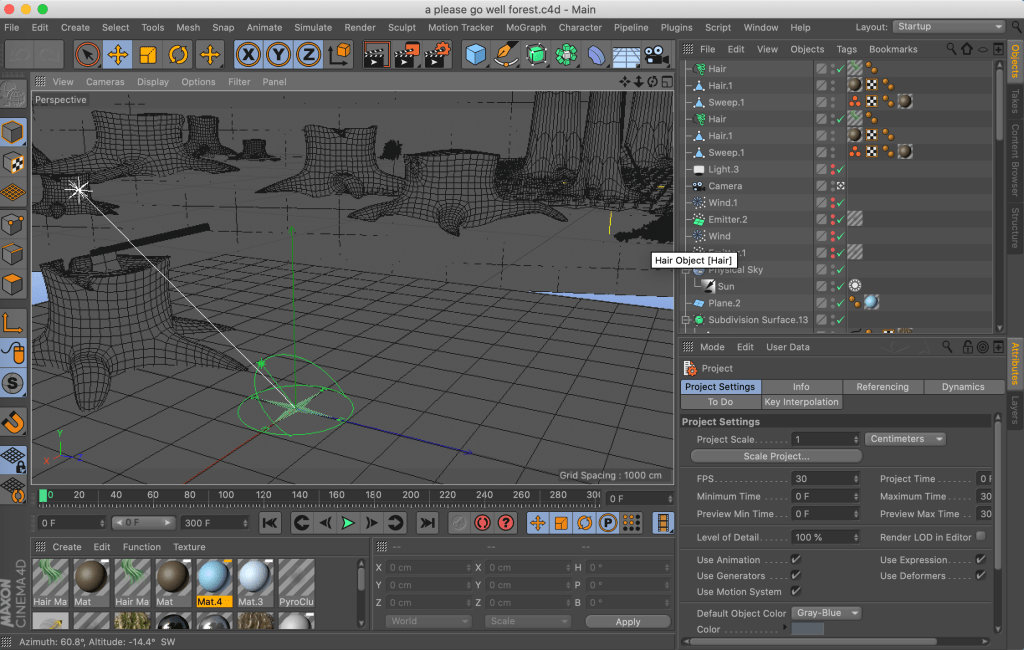
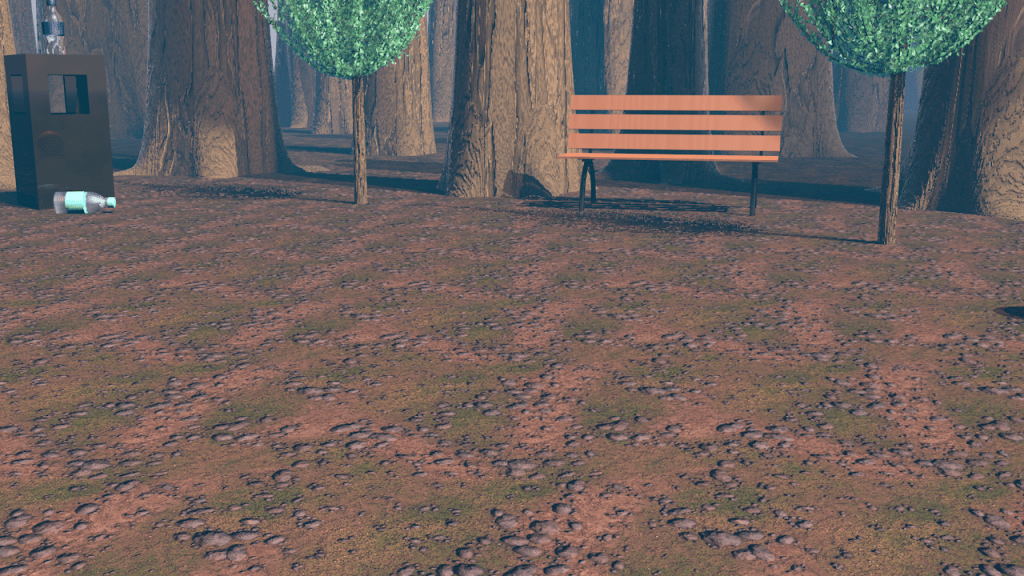
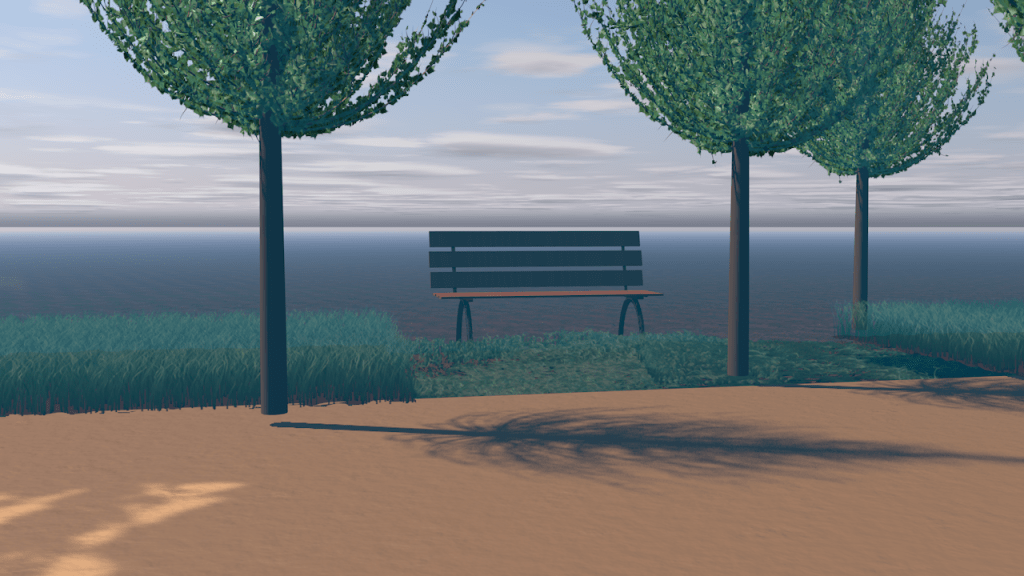
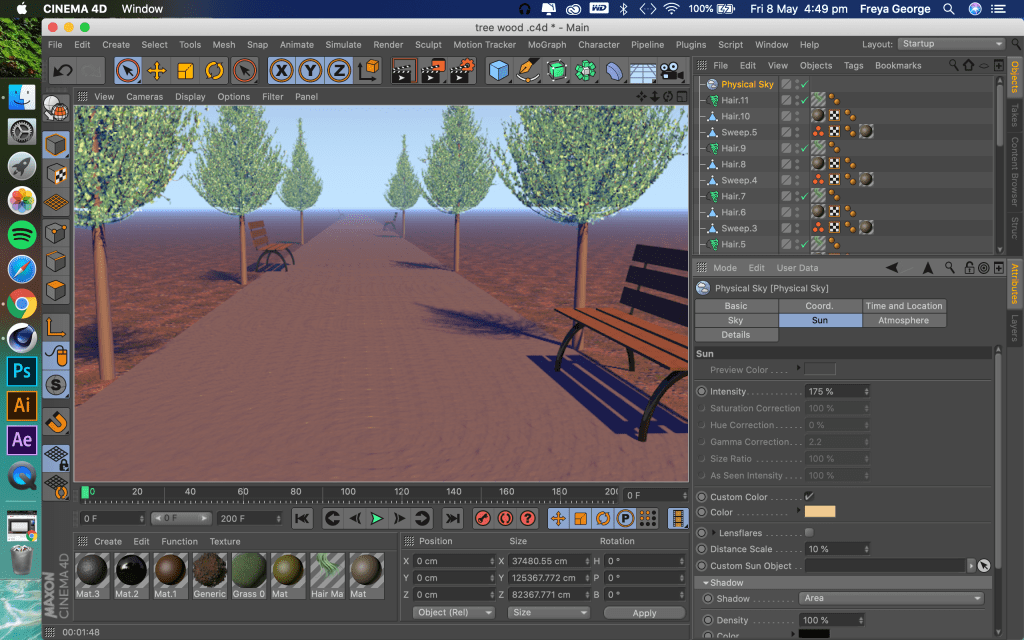
I like the look and detail of this scene, however I think it would off been more effective if I was able to involve whole trees covered in leaves rather than just tree trunks (because my laptop would crash when I had too many trees covered in leaves in one scene *explained more in first render*). I would off liked to of been able to create my original sketch for this scene with a long path surrounded by lots of trees, however I managed to over come the problem of my laptop crashing well by using mostly tree trunks instead.
Development video:
First render:
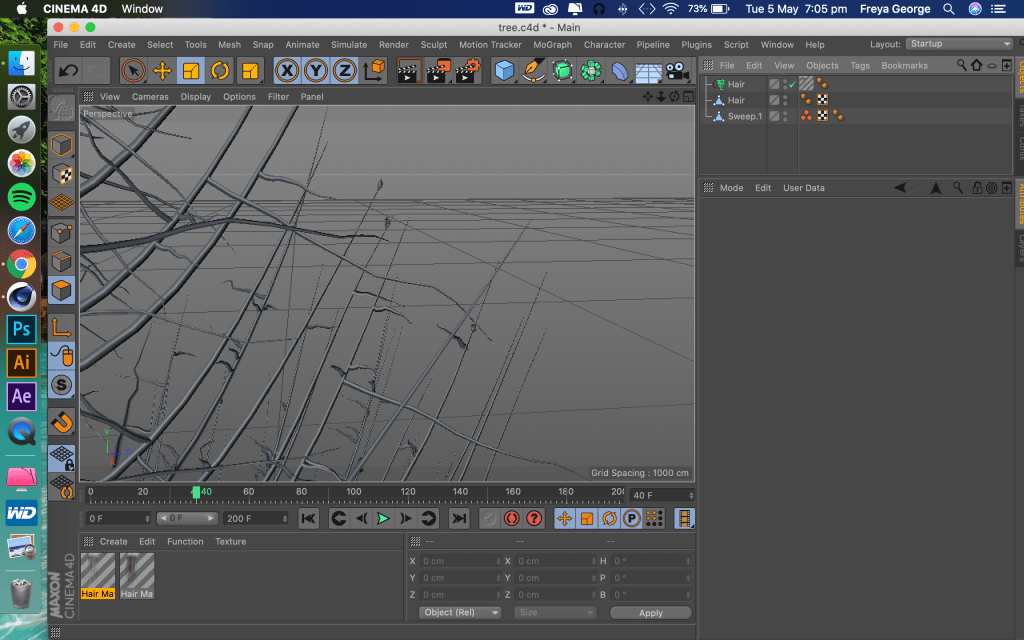
When I first started making this scene I wanted to create a long walk way surrounded by trees. However This is the most Trees I was able to have in a scene before my laptop would start to freeze and the software Cinema 4D would crash. Also when I had this many trees in the scene my view of the scene would jolt around, I couldn’t zoom in and out smoothly so it made it impossible to animate camera movement.
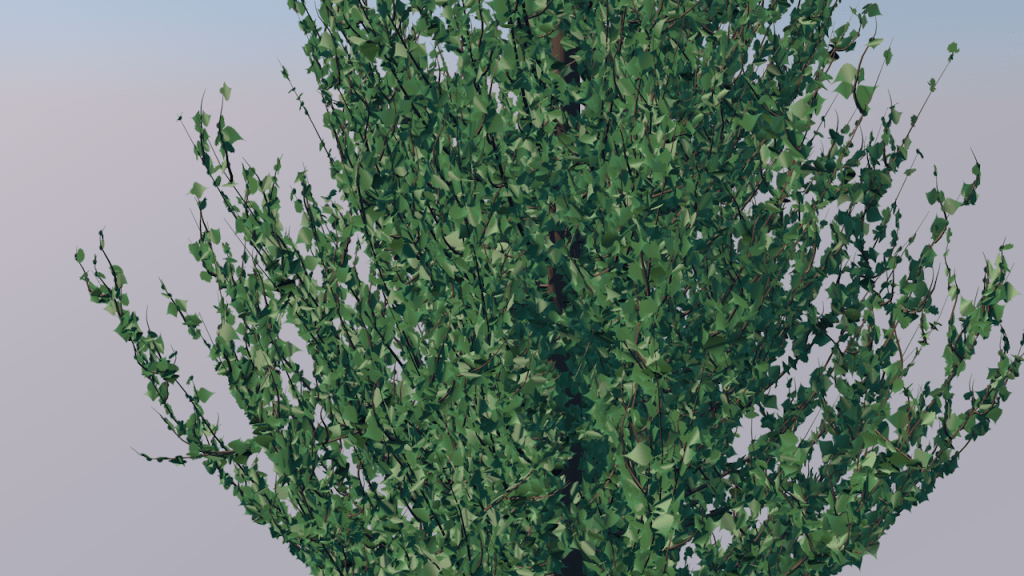
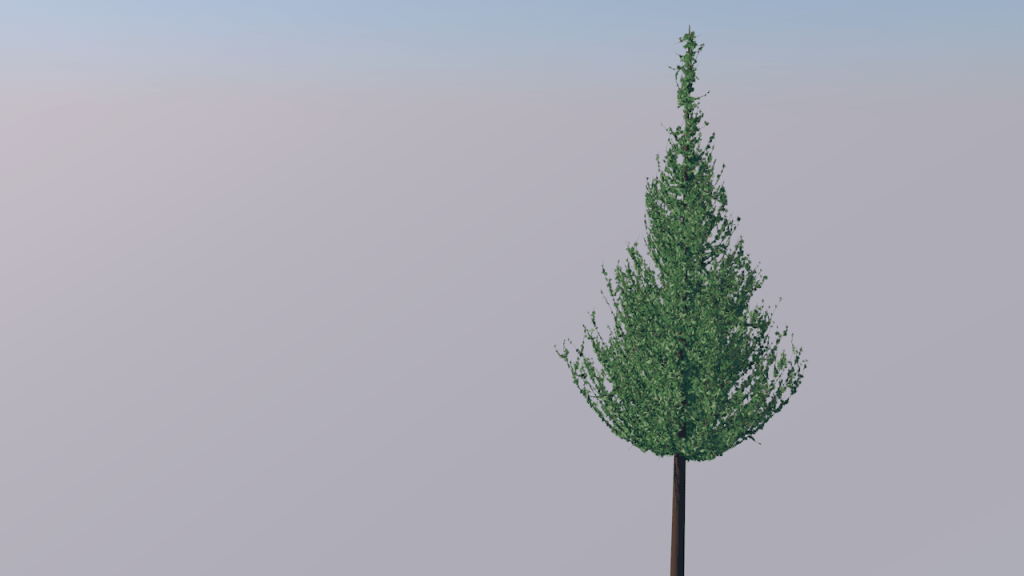
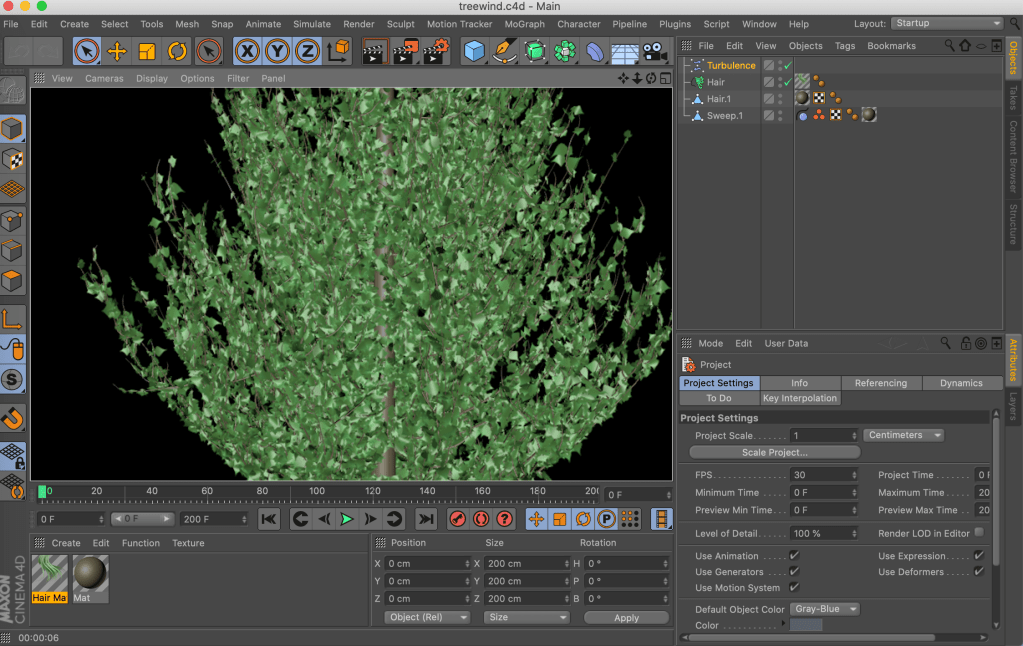
I realised to create a scene that I could animate and work on without my laptop freezing I would have to have less trees, as it was when I added the hair material in the software (what I used to make the leaves on the trees) my laptop couldn’t cope.

Second render:
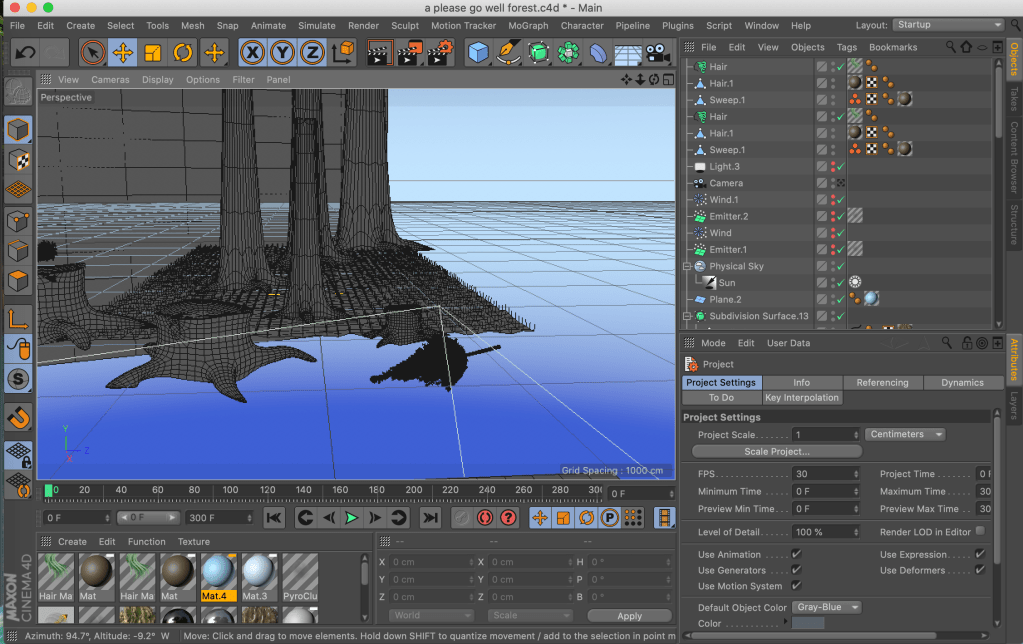
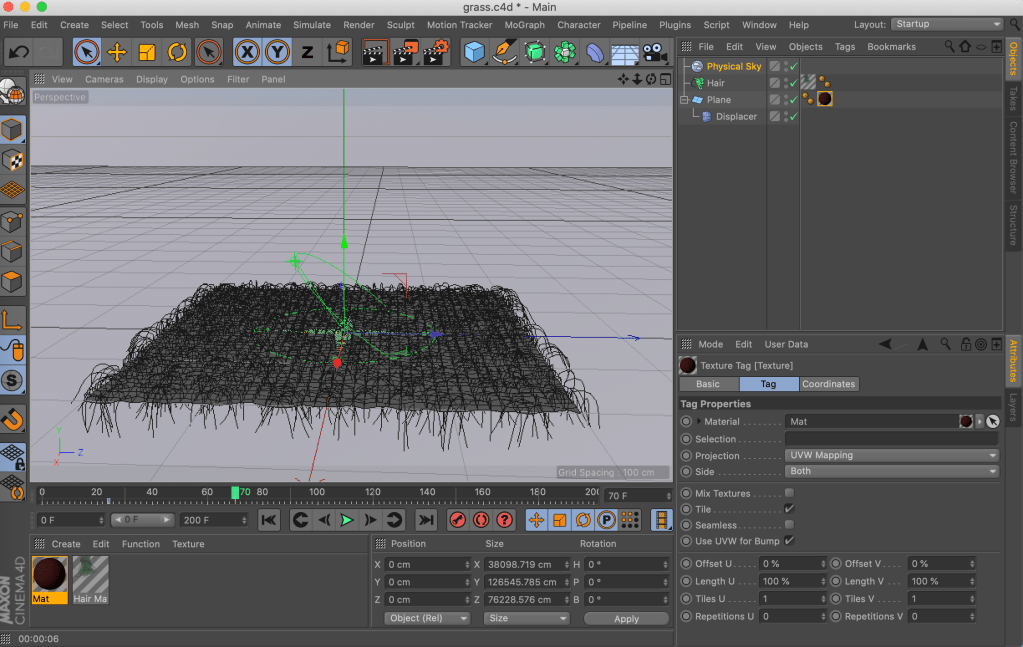
This was my second attempt at the scene, I was still trying to involve trees and grass because I needed trees in the scene to show the opposite of what we see vs animals in the forest who are having their habitats cut down. My laptop couldn’t cope with the amount of hair material in this scene too so I had to re evaluate how I was going to make the scene. I then came up with the idea that I could use tree trunks to show there are trees in the scene but not have to have the leaves in the scene as it was the leaves that was making my laptop freeze.
Sketches and the scene in Cinema 4D:

Idea behind the scene:
Evaluation of the scene:
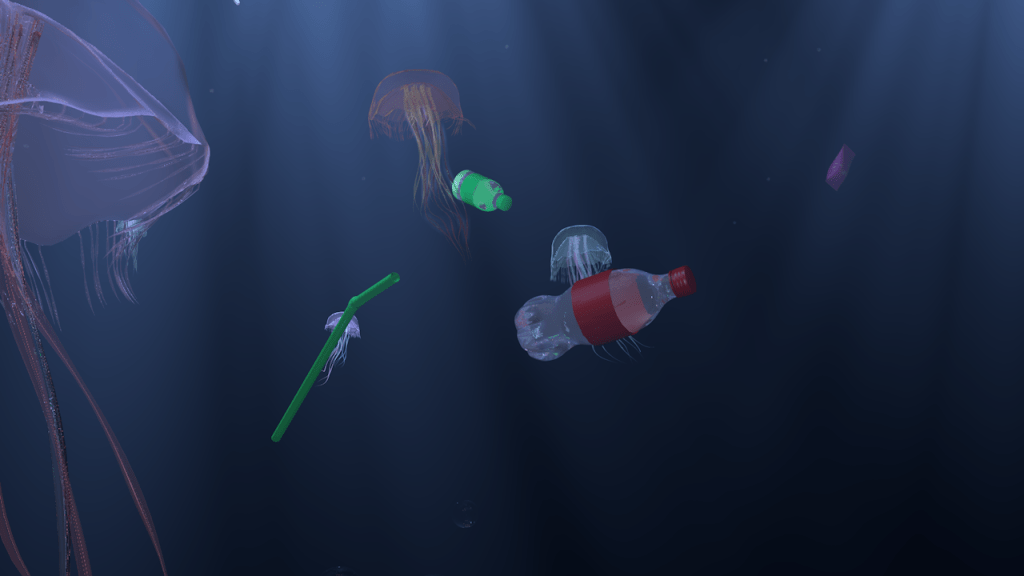
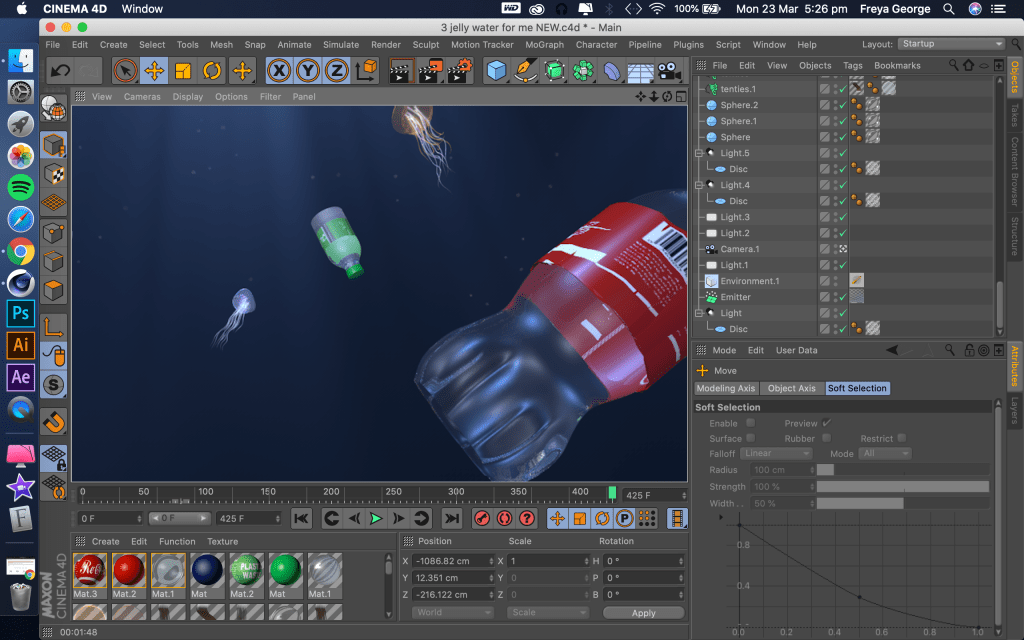
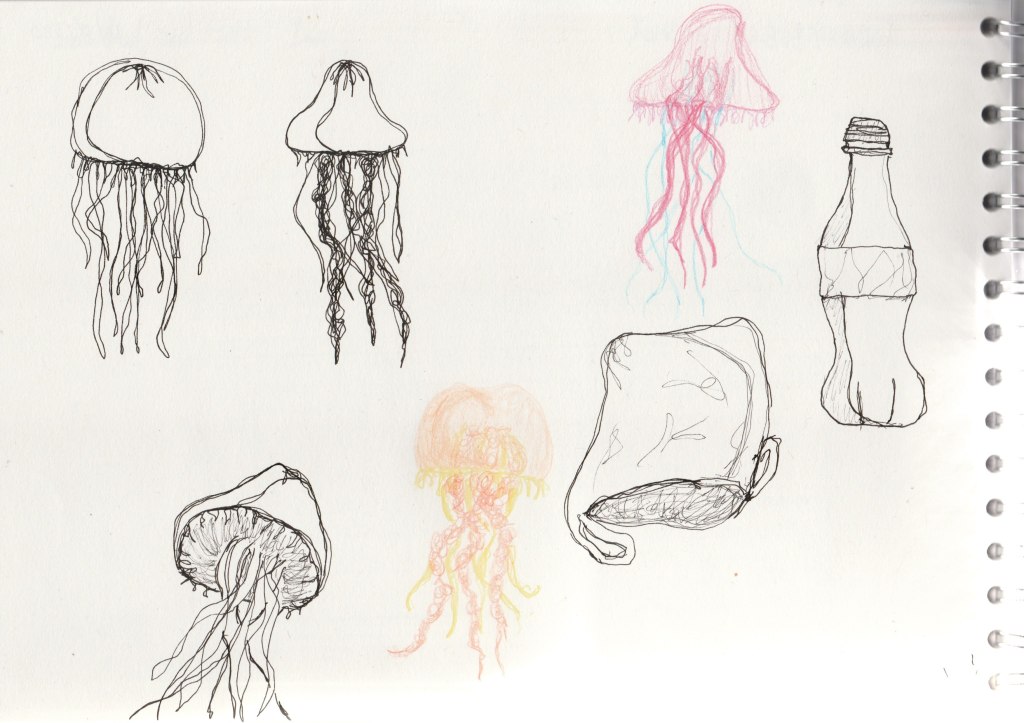
I think this scene shows the issue of plastic pollution well. With the jellyfish being a realistic style clear jellyfish colour and then the brightly coloured plastic floating around them it looks so unnatural to have bright green and orange straws being in this environment which was the aim to show how wrong it is having plastic reaching these parts of the earth.
Also I think it’s effective how I made the plastic float towards the camera, and the camera movement moves how fish would swim, moving slightly side to side, swimming through and dodging the plastic. Making you feel like you are seeing what a fish would see having to swim in our polluted oceans.
Development video:
First renders:
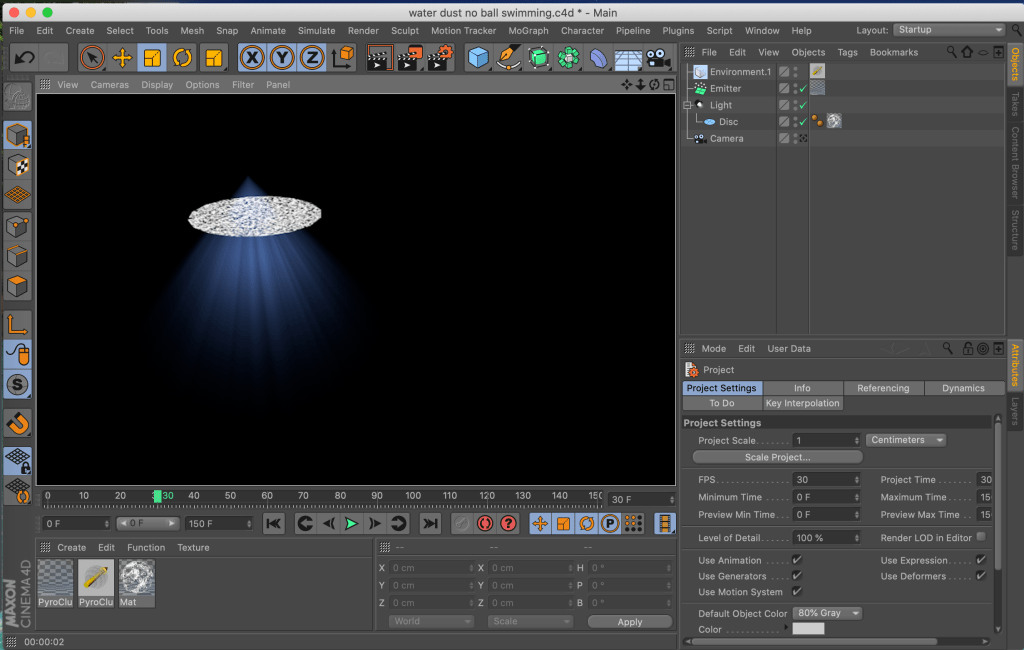
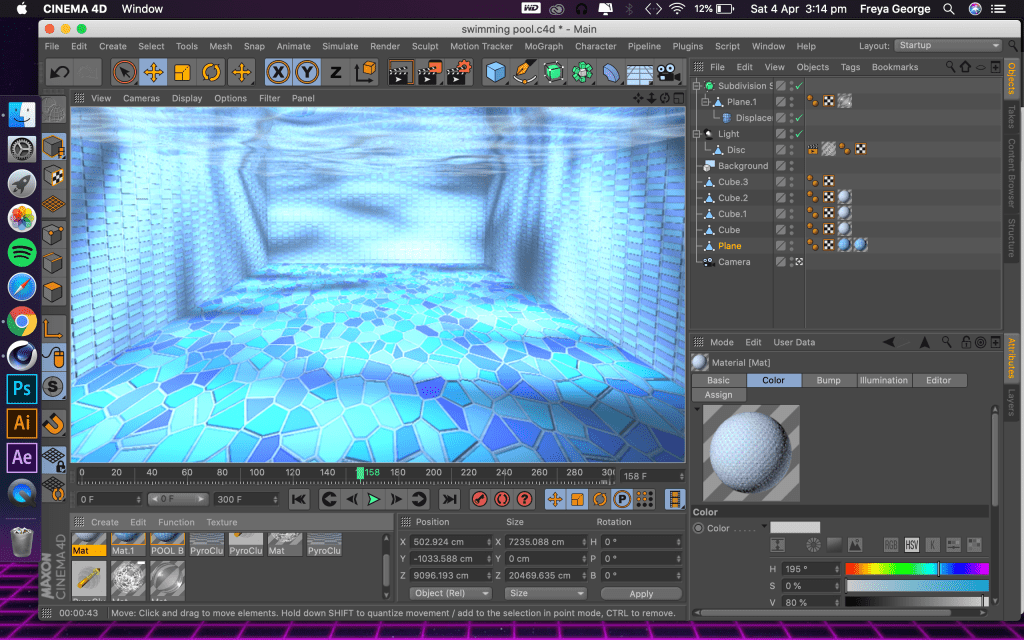
For creating the water for the scene I wanted it to look deep in sea water so I made the water a lot darker to the water in the swimming pool scene and I did rays of light shining through the water so you would be able to see what is floating around in the water. I also animated little particles of dust material flowing towards the camera to really give the feeling that you are in the water.
In this render i’ve added the jellyfish to the water. After watching it I realised the longer tentacles on the jellyfish are a bit stiff and don’t flow around in the water like the shorter tentacles do. For the next render I changed it so all the tentacles moved freely flowing around in the water.
Second renders:
In this render I changed the positioning of the jelly fish, I put some up close to the camera and others far away from the camera to give some depth to the scene. I also added plastic bottles floating around in the scene, as the scene is about marine pollution and plastic in the ocean.
Just having 2 plastic bottles in the scene wasn’t enough to portray the message that plastic in the ocean is a really big issue. The total amount of plastic entering the marine environment is over 12m tonnes a year – according to a report by Eunomia in 2016. So I knew I needed to add more plastic floating around in the scene.
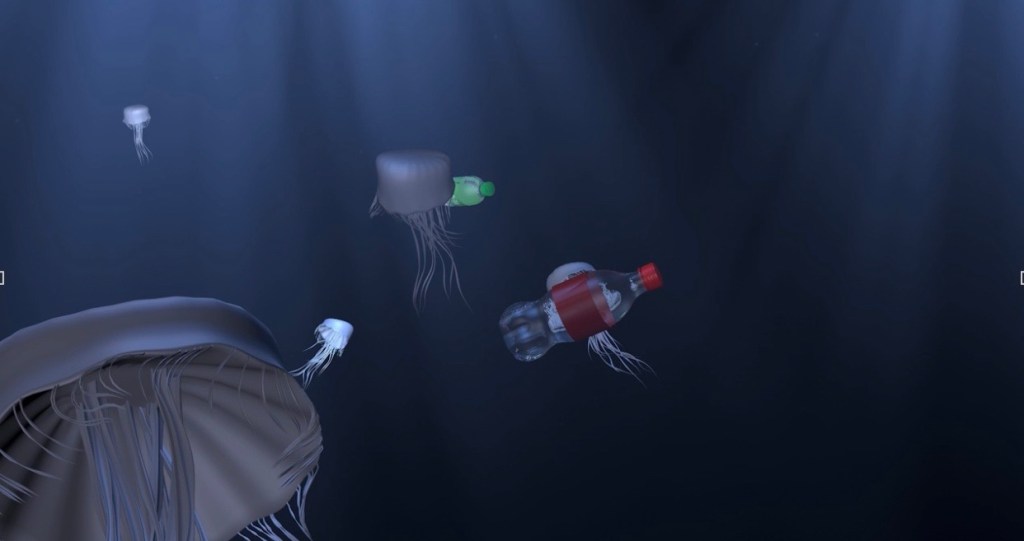
This a render of the final animation but without colour. By rendering it without colour first I could really look and focus on the movement of the scene to see if it flowed well. And from looking at this then the final animation you can see how adding colour can really bring an animation to life.
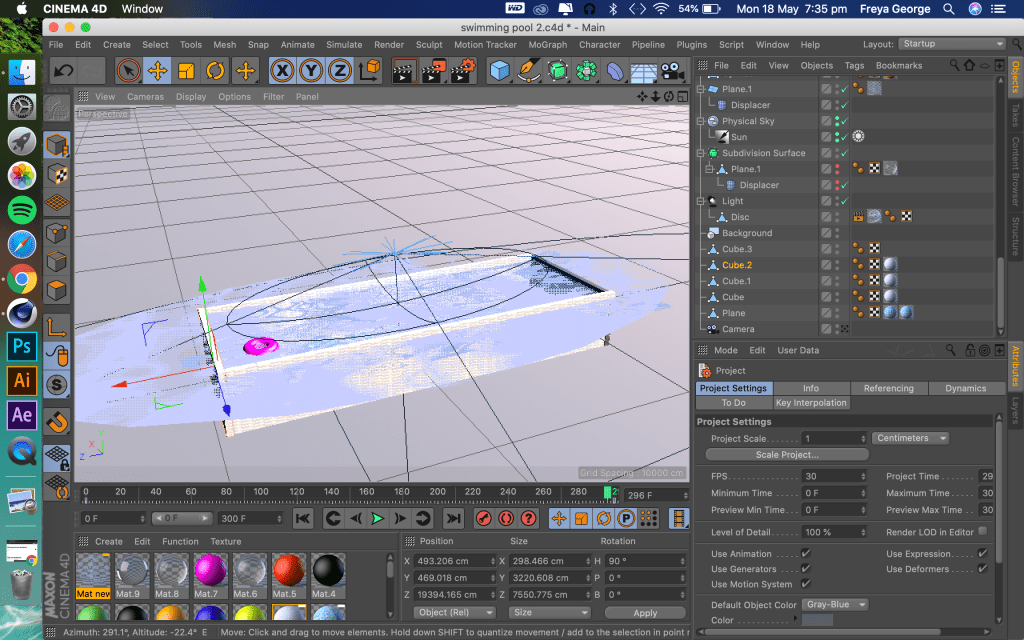
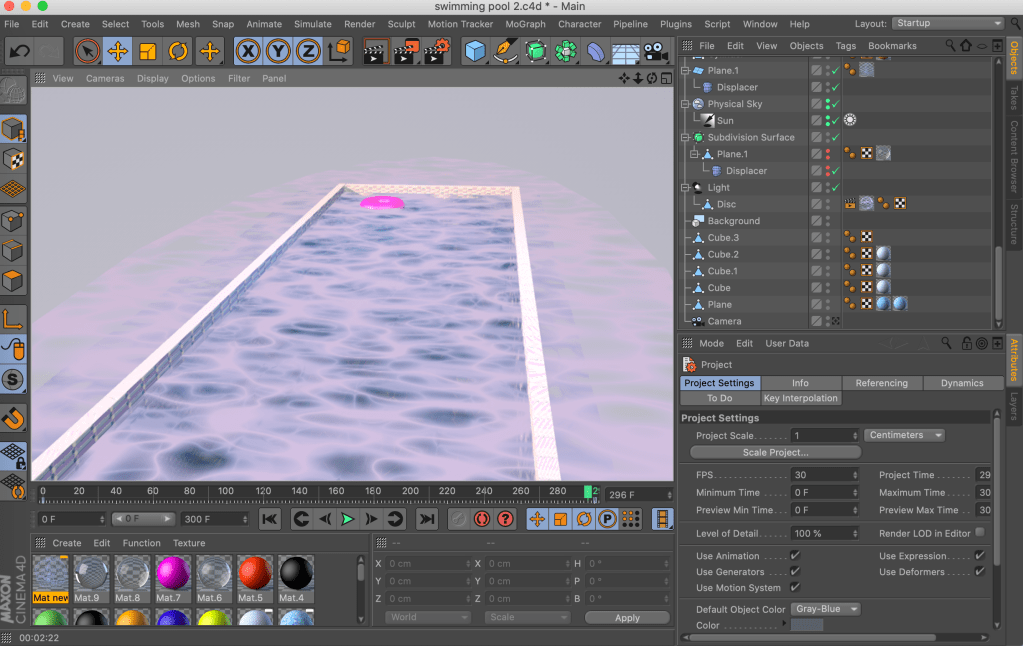
Sketches and the scene in Cinema 4D:


Idea behind the scenes:
Evaluation of the scene:
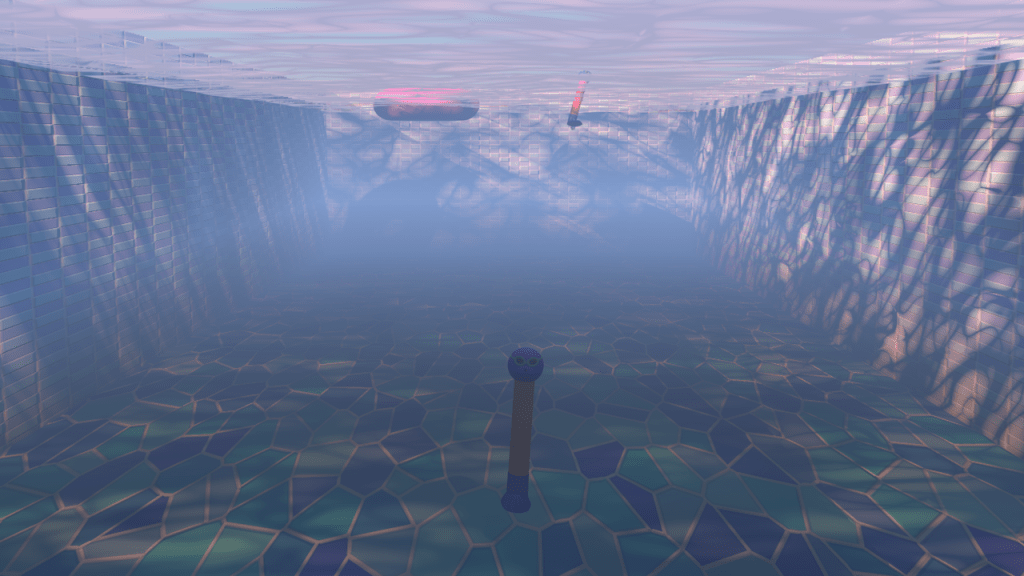
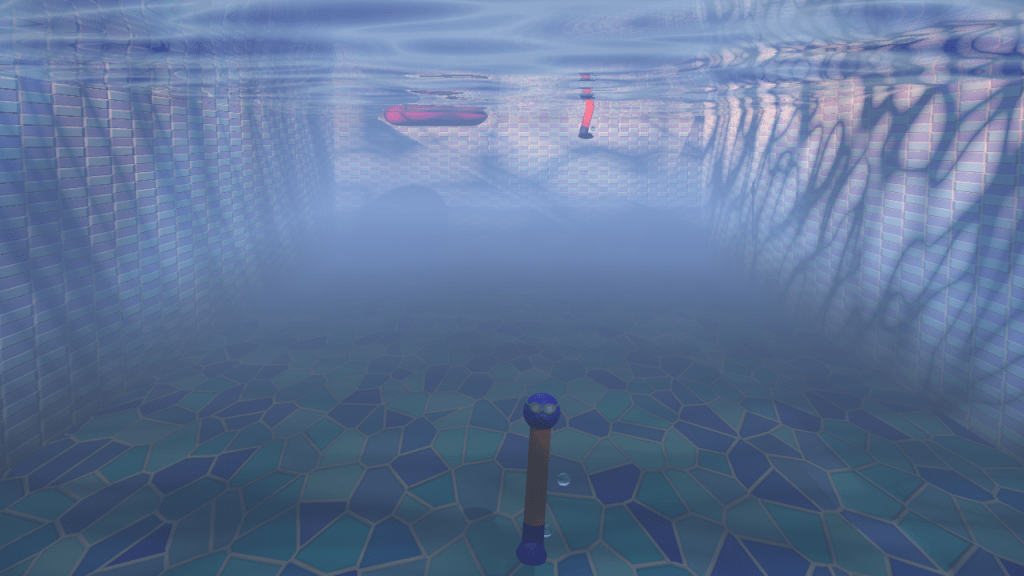
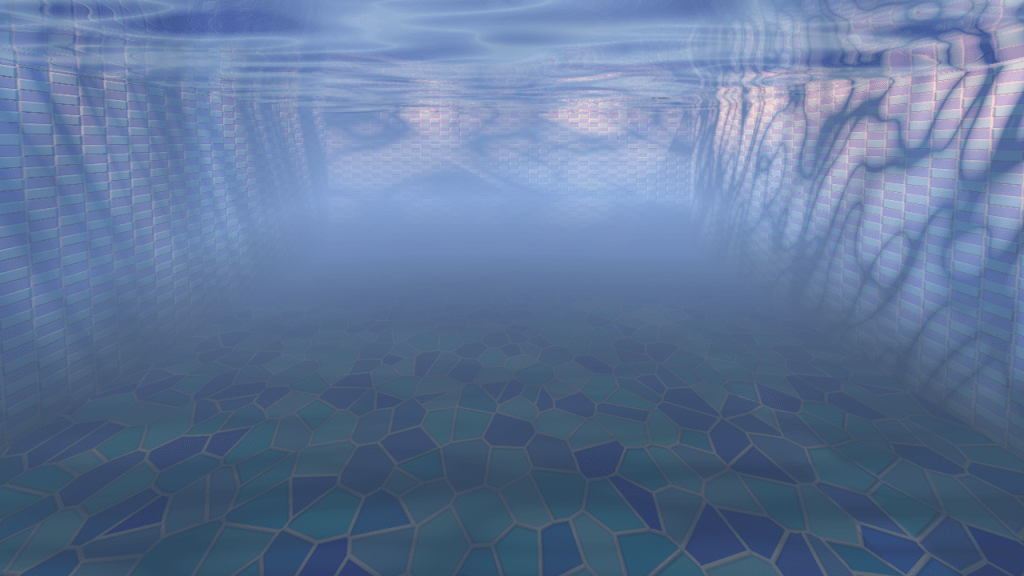
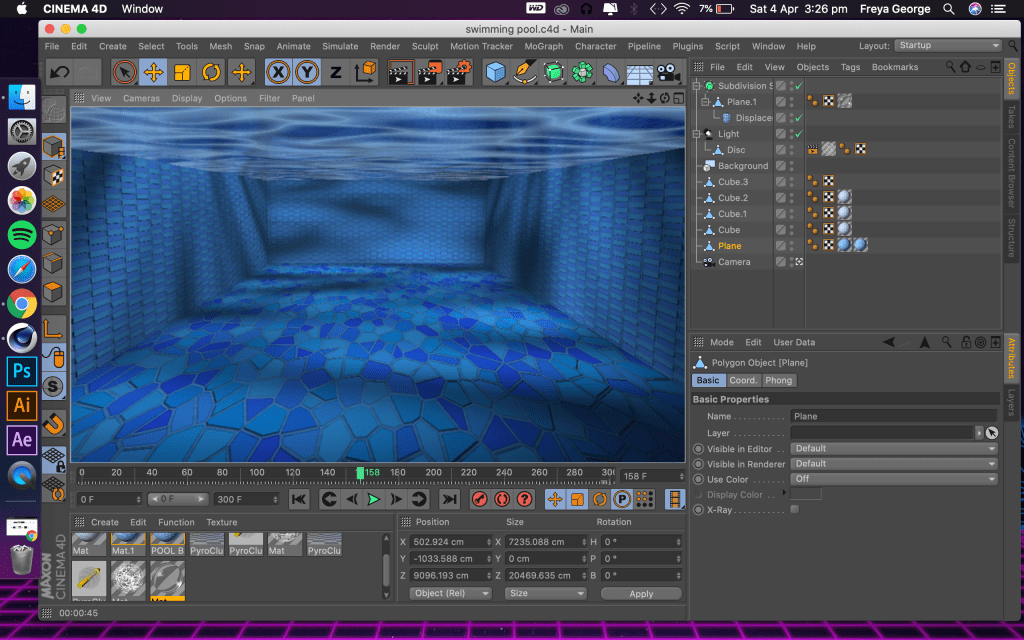
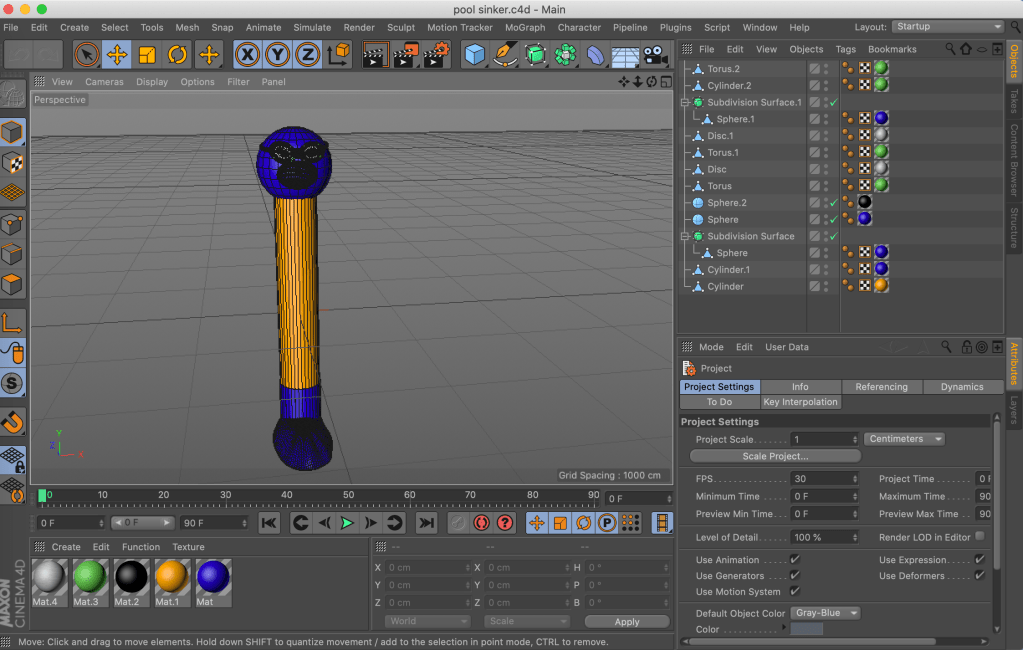
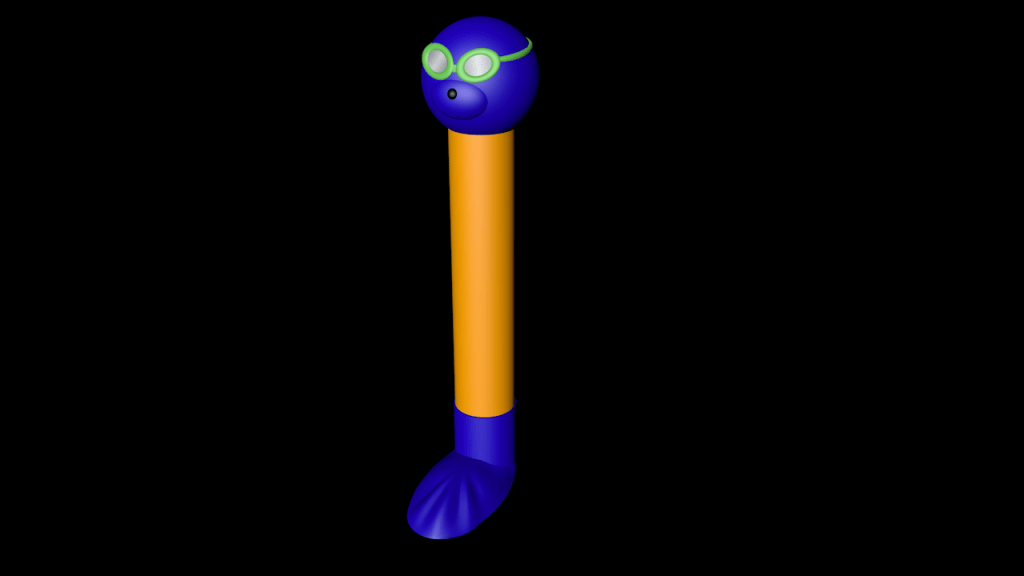
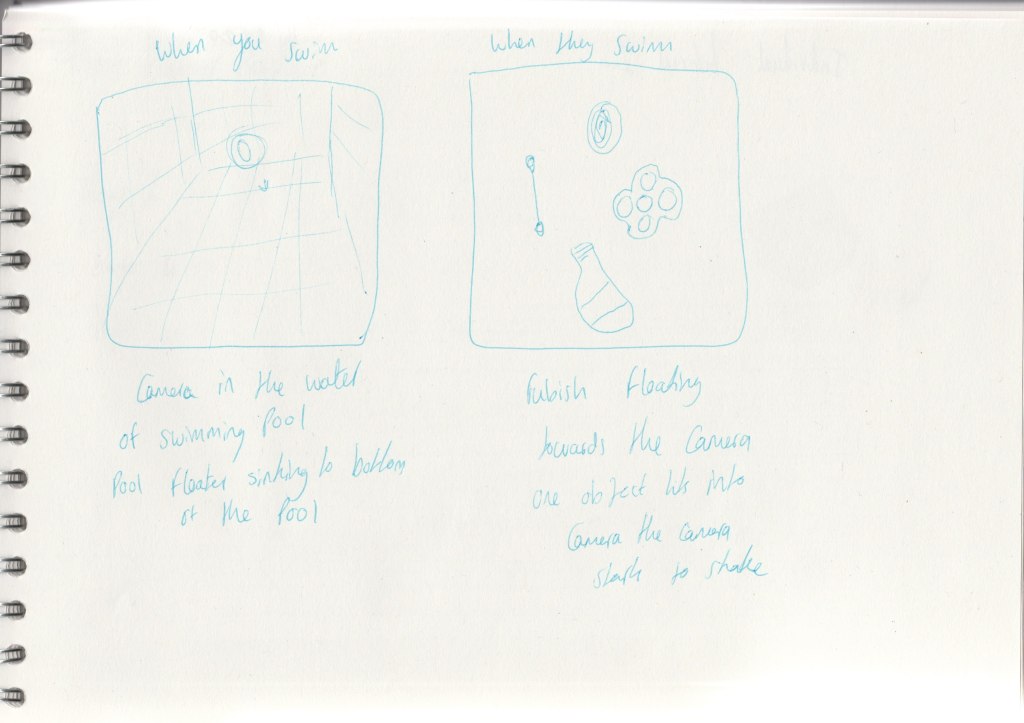
I am happy with the underwater look I achieved with this animation. I like the swimming movement through the scene but on evaluation I think the last bit of movement is slightly too fast and should be a bit smoother. Also with one of the air bubbles I forgot to make it disappear when it goes above the water so you can see it above the water, I need to change that to improve the scene. I added the pool sinkers to add some more movement to the scene and to give it a bit more going on, It gives it a holiday pool look.
Render improvements:
When I first rendered this scene around the 30th frame the water would go more opaque and dark blue which would look really odd and unrealistic, I could figure out fully what was making this happen so I had to change what I was using for the water. When I changed the water it stayed the same colour the whole way through the animation. The new water was slightly less reflective though which made it look slightly less realistic but overall it looked better as it stayed a consistent colour throughout the animation.

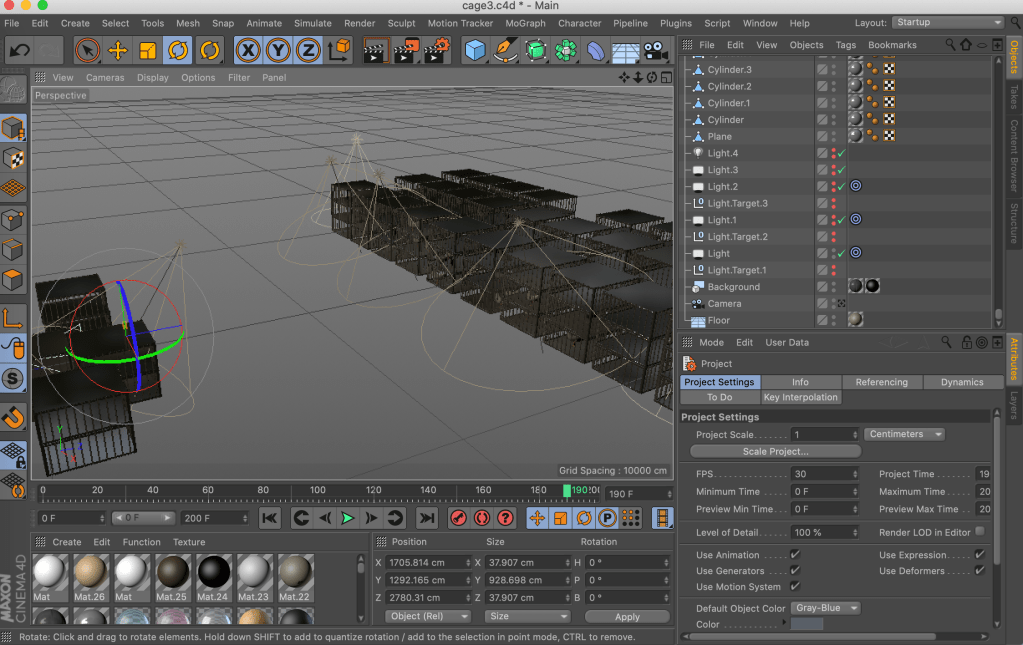
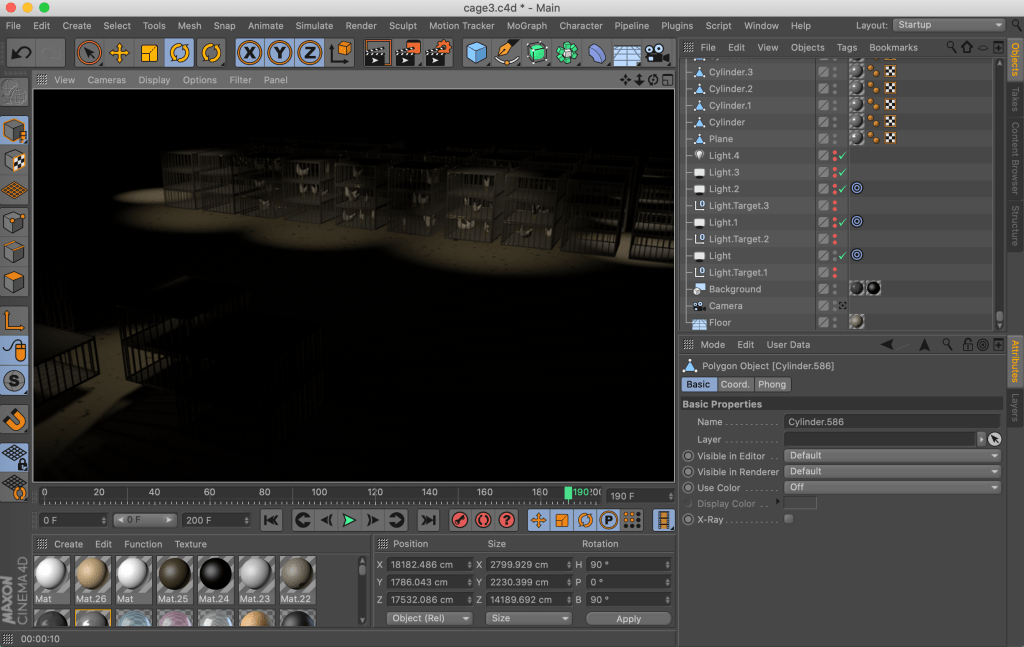
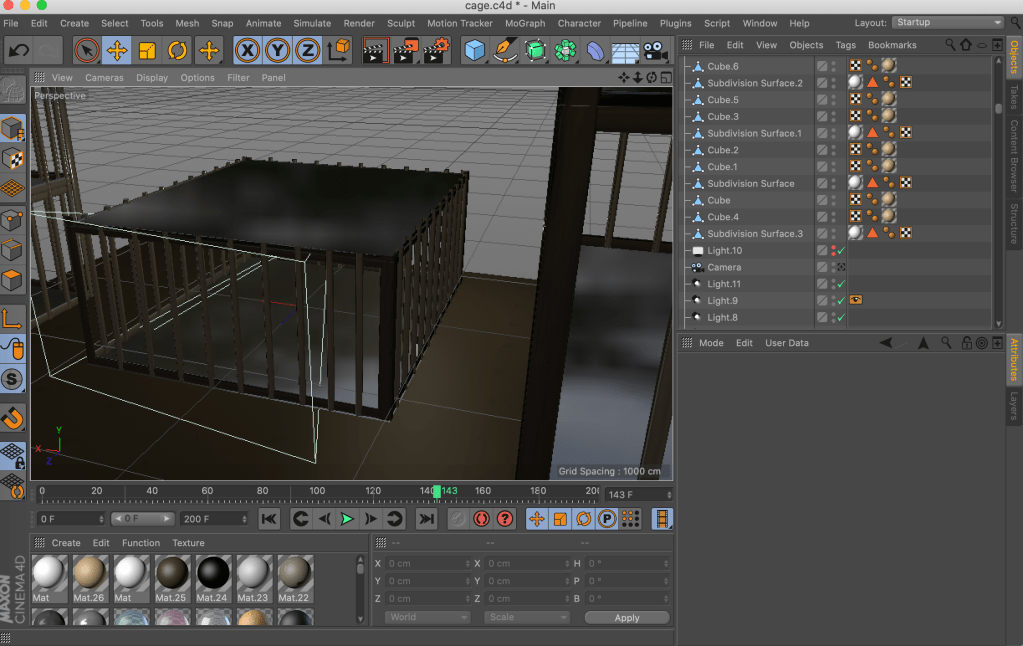
Sketches and the scene in Cinema 4D:

Idea behind the scene:


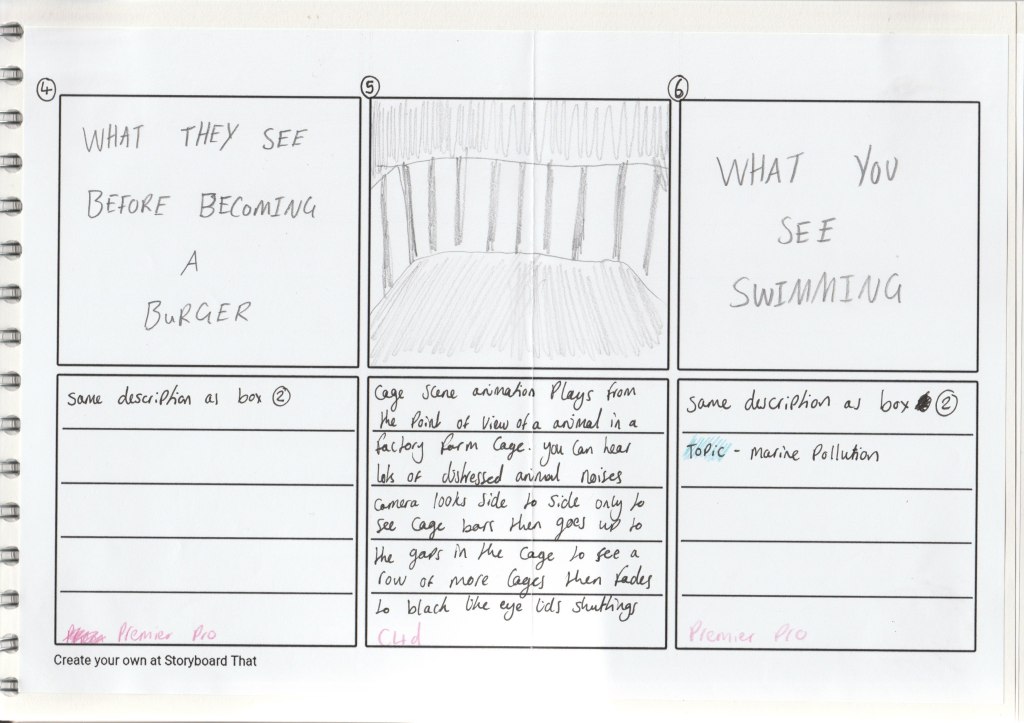
Evaluation of the scene:
I think this scene portrays the trapped scary atmosphere of a factory farm well. The point of view of being in a cage shows the confined spaces animals are limited too and there is not much else to see but metal cages filled with animals and darkness, really showing how bad the conditions are. And these bad conditions is why factory farms are linked to the over use of antibiotics. For improvements I could animate the chickens to move in the scene, this would add another level of realism to the animation.
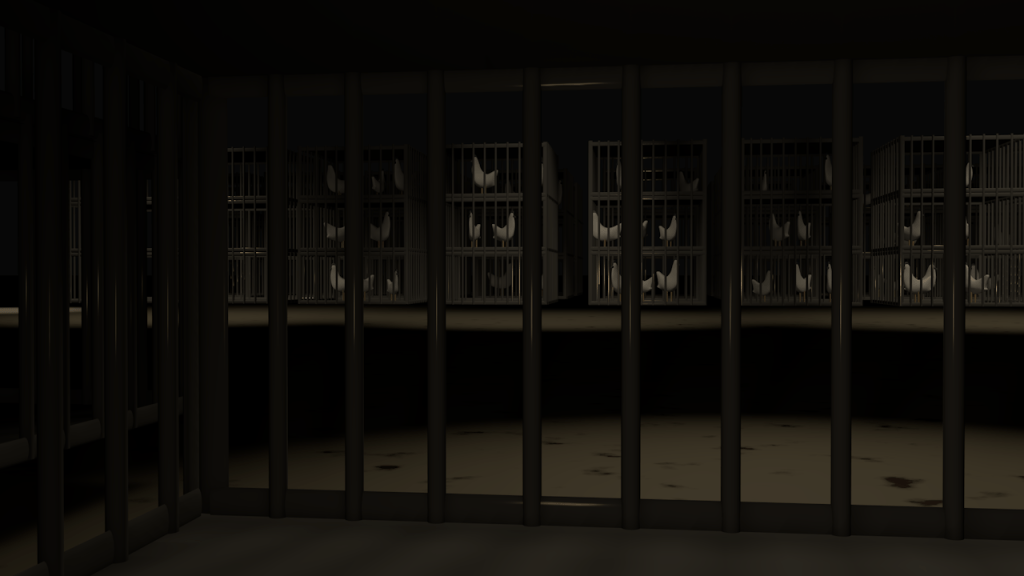
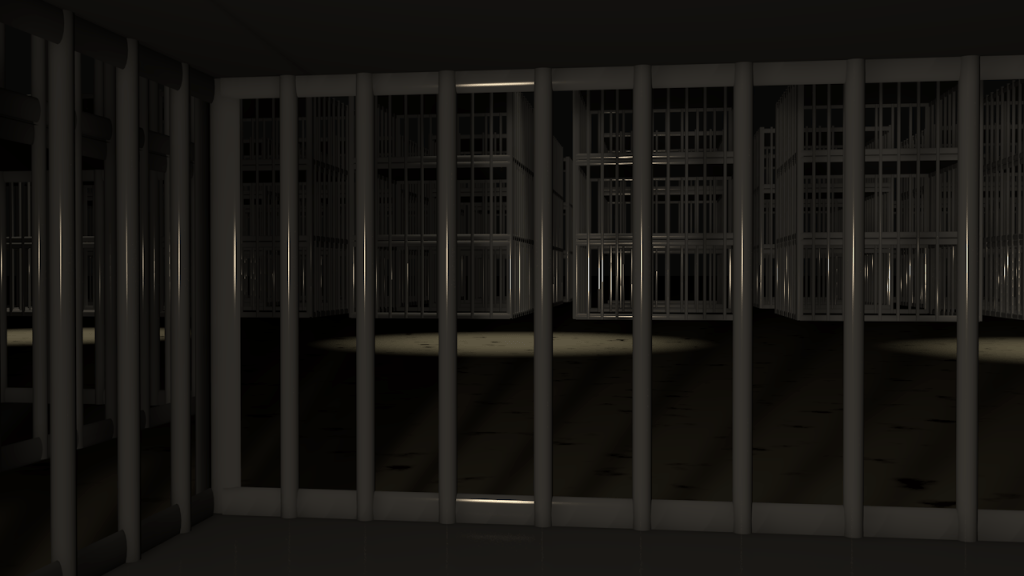
Render improvements:
When I first rendered this scene the one issue I had to change was the lighting of the scene. This is because I used a very reflective metal looking material on the bars and when the camera moved the light reflection on the bars moved in a strange way which made it look like the light was flashing at the camera and it was very distracting to watch. To change this I dimmed the lighting a bit and also made the material of the bars less reflective.
Sketches and the scene in Cinema 4D:
Idea behind the scene:


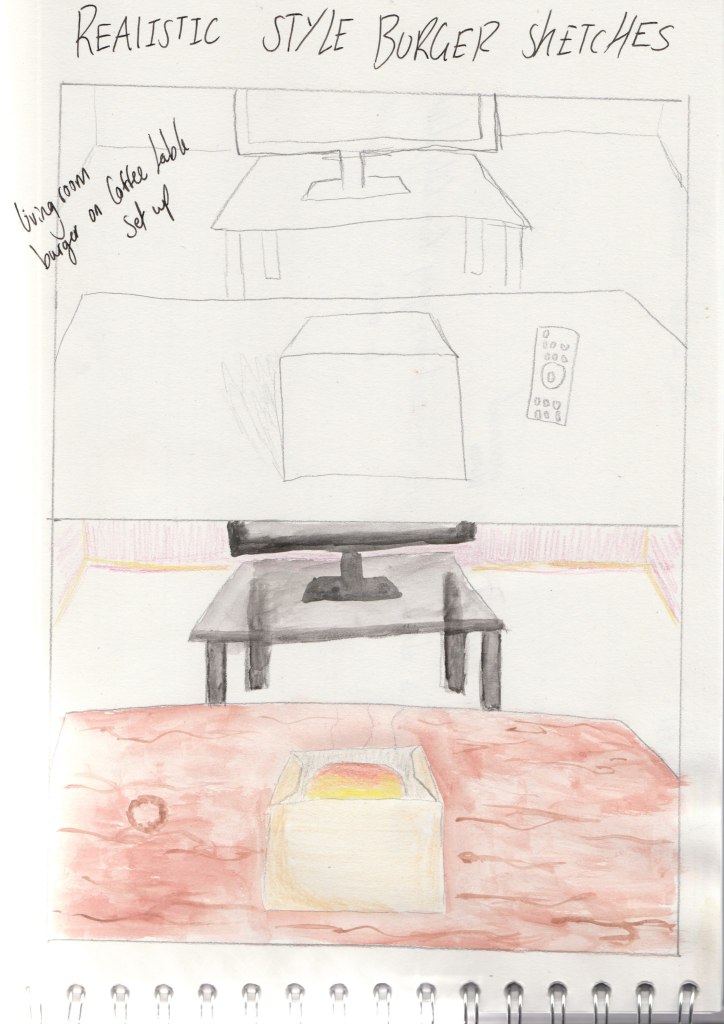
Evaluation of the scene:
I liked how this scene turned out, with the lighting I used it gave it a homely look. What I could improve on however is I could off added a few more living room objects in the room or added little bits of more detail e.g. coffee ring stain on table. Also compared to all the other objects in the room the tv remote is a little less realistic looking, so I could re model it to look a little but more fitting in the room.

Development video:
Reference:
A video of my living room, I was testing out how the movement of nodding your head would go and what you would see in the scene of a living room.
First render:
For this first render I chose quite bold colours, I liked how the colours drew your attention too the scene however because I want to make the scene look like a real living room I decided that this bold look wasn’t right for it.
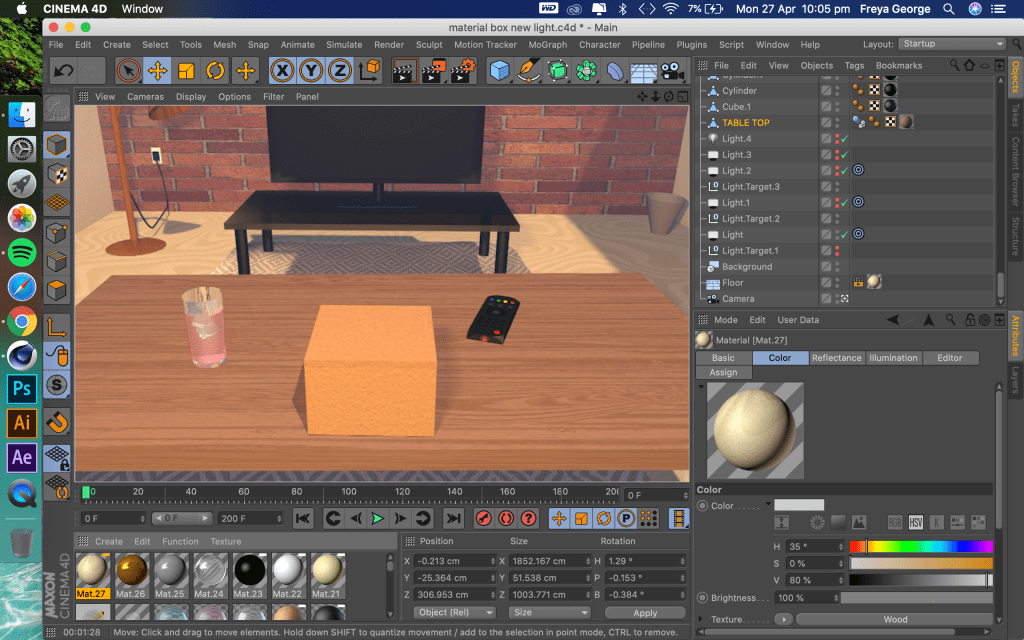
Second render:
For this second render I chose more realistic colours, however I thought the scene looked a bit dull with the colouring and not very homely. For the final render to give it more of a homely atmosphere I changed some of the colours and the flooring as the flooring didn’t work well. I also added more living room objects and changed the lighting. when I changed the lighting it really brought the whole scene together and gave it a nice living room atmosphere.
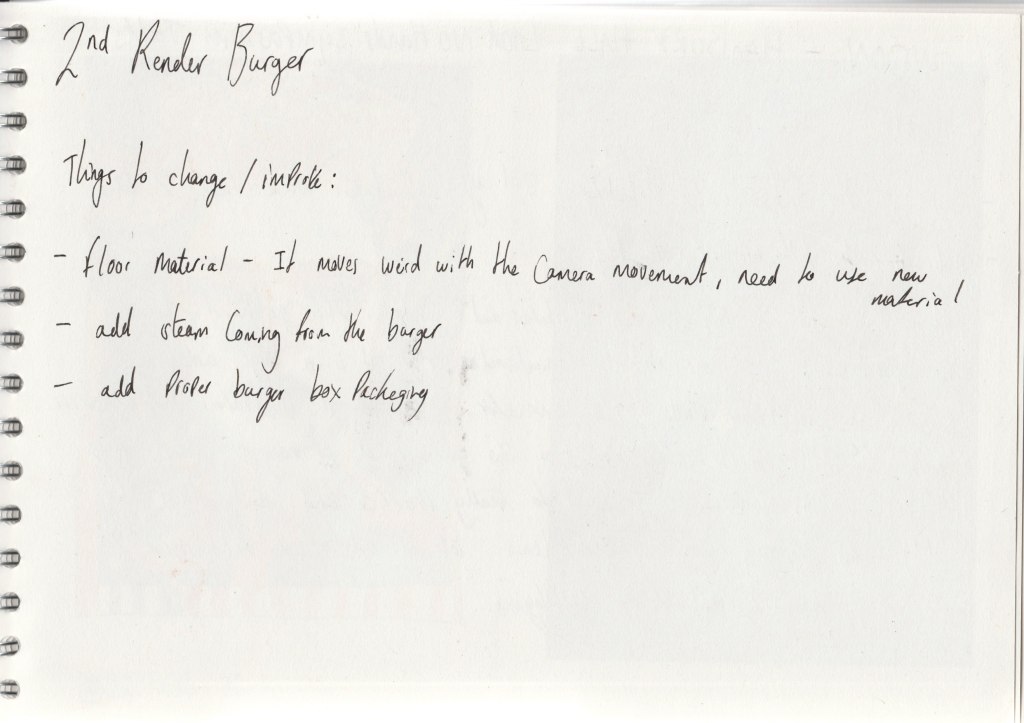
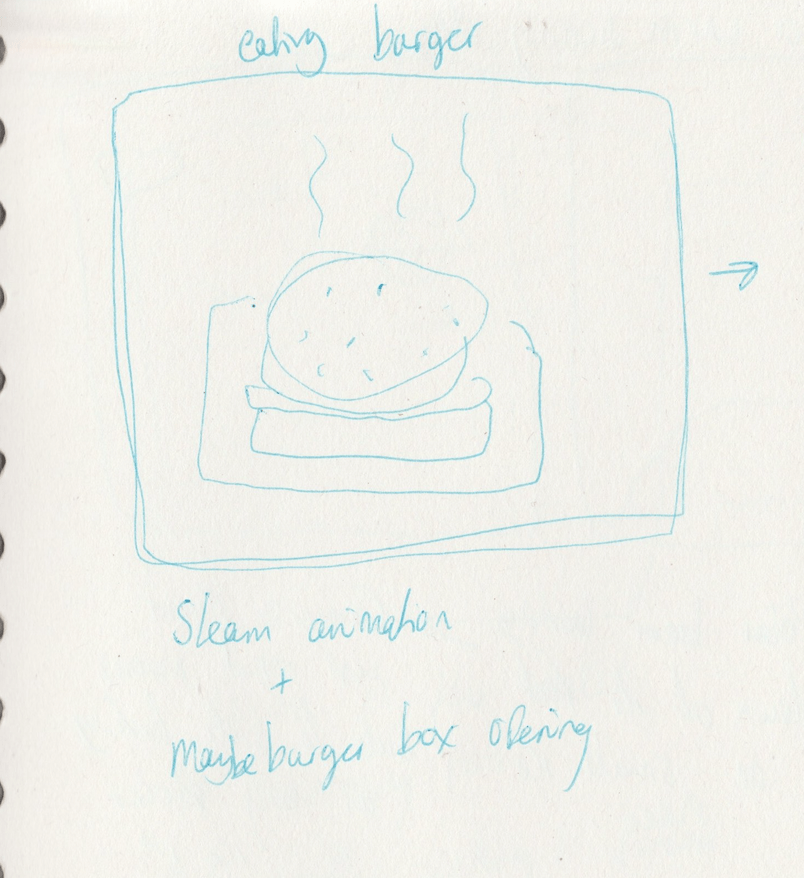
Render improvement notes:

Sketches and the scene in Cinema 4D:
Idea behind the scene: